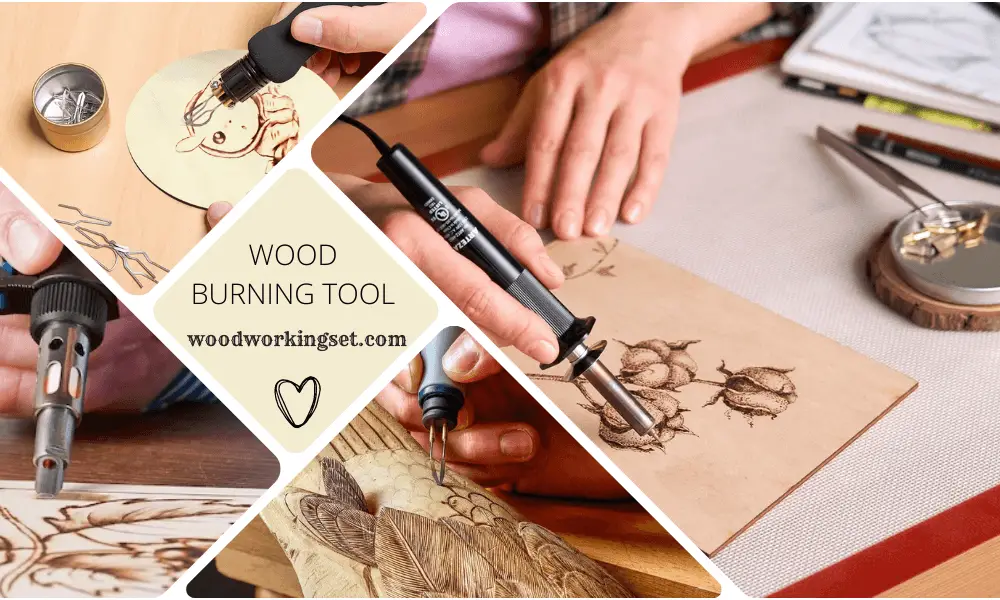
Pyrography is another name for wood burning. This process refers to drawing images on a piece of wood using the tip of hot brass. The results grab a lot of attention in most homes out there. Did you know that you can engage yourself in wood-burning and hang them on walls to beautify your home? There are different types of wood-burning projects; that is why you should know more about the wood-burning tool. Keep Read about how to use a wood burning tool.
Systematic guide on using a wood-burning tool
Table of Contents
Step #1
Carefully handle the wood burn pen as it becomes hot. It is also advisable that you attach the tip that you are planning use prior to turning the machine on. Use a pair of pliers to attach as well as detach the tips. Wait for a minute or two for the pen to get hot. Always rest it on a pen holder as well as clay pot to prevent accidents.
Step #2
Sand the wood then wrap 320-grit sandpaper around a flat wooden block. This should hit all the wood areas equally. In a smooth wood surface, the details will be sharper.
Step #3
Use light strokes and carefully guide the pen to minimize errors. This also prevents accidental burning. Handle the wood-burning process carefully and give it some good time.
Keep in mind that this is a slow and gradual process. It requires steady pressure.
If this is the first-time design, use a pen to imprint the indents throughout your project. If you hold the pen in the same area for a long time, then it gets deeper as well as darker.
Step #4
Study the grain and understand it as going with the grain saves time for a wood burner. Turn the wood piece until the grain faces downwards. Always move the pen in a downward direction so that it burns with the grain, thus ensuring more resistance.
Step #5
Use a practice wood to experiment. It would help if you practiced with different tips so that you gain more skills and handle different projects. Understand the type of picture that you want to burn and use the right tip. Moreover, it all depends on the number of details you want to add in the picture.
Step #6
Freely draw the design onto the wood using your hands. Draw directly using graphite pencil as this enables you to achieve the best outline of your image.
Place a graphite paper on top of the wood facing downwards. Use masking tape to secure it into the wood. Sketch the image on top of the laid graphite paper.
Use a 2B pencil to sketch by employing fluid lines as well as medium pressure.
Get rid of the graphite paper and deepen the outline on the wood.
Step #7
Burn the outline part four times. Apply light pressure to ensure that you maintain the pen as you move it towards you.
FAQ
Should you put on a mask when wood burning?
It is constantly advised that you put on a mask when doing these tasks, specifically if your lungs are sensitive. Currently, you can obtain added convenience and alsoa security while timber burning with the “Deluxe Wood melting Filters”! … The beyond the “Deluxe Woodshedding Filters” coincide as Particle Filters.
Is wood burning secure?
In either case, if you’re constructing a timber fire, it’s essential to bear in mind that not every item of wood makes great gas. You might currently understand not to melt garbage like layered, repainted, or pressure-treated timber. Doing so can launch unsafe or hazardous chemicals right into the air, according to the Environmental Protection Agency.
Is a wood burning tool like a welding torch?
The tools warm in a different way.
Timber shedding pens obtain a reasonable little bit hotter than a welding torch,and also generally, they also feature flexible thermostats, making them even more functional for pyrography.
Are wood burning pointers Universal?
It has a selection of suggestions and also devices that make crafting simple for all ability degrees. All of the suggestions are global!
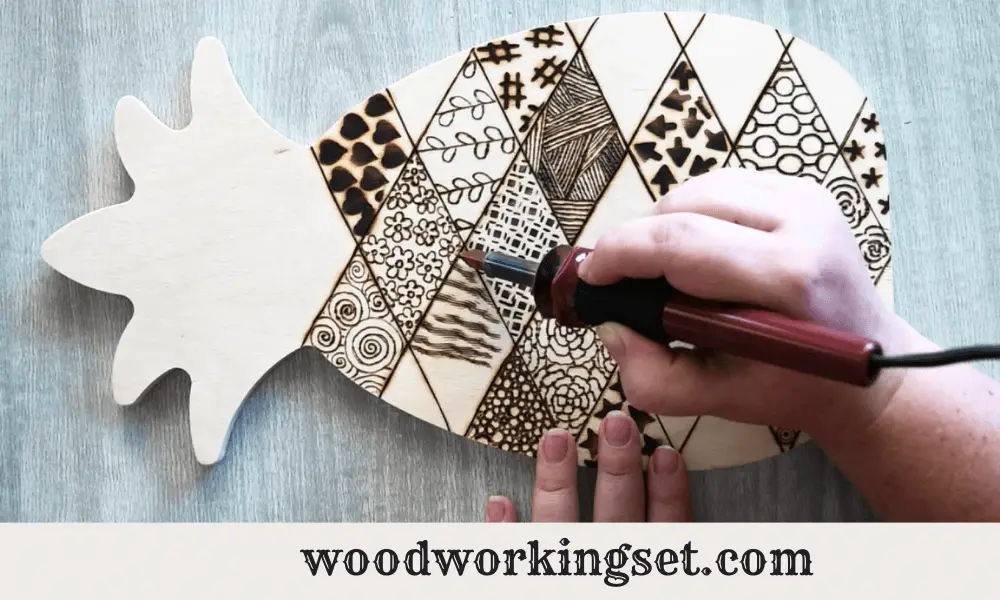
Experiment with this process using shading and texture. Did you know that you can burn a 3D image as well? Color the image using your desired watercolors as well as colored pencils.
1. What is a wood burning tool?
A wood burning tool is a device that heats up to create a hot tip, which is used to burn designs onto wood surfaces. It typically consists of a metal barrel with a replaceable tip, a heating element, and a handle. Wood burning tools are specifically designed for pyrography and come with different tips for various effects.
2. What do I need to get started with wood burning?
To get started with wood burning, you will need a few basic supplies. These include a wood burning tool, a piece of wood to burn on, sandpaper for prepping the wood surface, a pencil or stencil for drawing your design, a scrap piece of wood for practicing, and pliers for changing the tips safely.
3. How do I prepare the wood surface?
Before you start wood burning, it’s essential to prepare the wood surface. Begin by sanding the wood piece to create a smooth and even surface. Sanding helps remove any imperfections and allows the wood burner to glide more easily. Once the wood surface is smooth, wipe away any dust with a clean cloth.
4. How do I choose the right type of wood for wood burning?
When it comes to wood burning, it’s crucial to select the right type of wood. Softwoods, such as pine or basswood, are generally preferred for beginners as they are easier to burn and work with. Hardwoods like oak or walnut can be more challenging but offer a beautiful finish. Experiment with different wood types to see what works best for your projects.
5. What are the different tips used in wood burning?
Wood burning tools often come with a variety of interchangeable tips to achieve different effects. Some common tips include a universal point for general burning, a shading point for creating gradients and shadows, a writing point for detailed lines, and a stencil point for transferring designs. Experiment with different tips to discover the wide range of possibilities in wood burning.
6. How do I hold the wood burning tool?
Properly holding the wood burning tool is crucial for achieving control and precision. Typically, you should hold the tool similar to how you would hold a pencil or pen
How to use a wood burner
- 12 Inch Wood Planer: Smooth Your Woodworking Projects Like a Pro - 01/10/2023
- Table Saw Blade: Unleash the Cutting Power - 22/09/2023
- Vintage Table Saw: Uncover the Unparalleled Power - 22/09/2023
