To change the blade on a table saw, first make sure that the saw is unplugged. Next, remove the throat plate by loosening the screws that hold it in place. With the throat plate removed, you will be able to see the arbor nut.
Use a wrench to loosen and remove the arbor nut so that you can access the blade. To remove the old blade, simply slide it off of the arbor. To install a new blade, slide it onto the arbor and tighten the arbor nut with a wrench until it is snug.
Be careful not to overtighten as this could damage the threads on the arbor. Finally, replace the throat plate and tighten its screws.
- Unplug the table saw
- Raise the blade to its highest position using the elevation knob
- Loosen the arbor nut with a wrench, and then remove it completely by hand
- Remove the old blade from the arbor shaft
- Install the new blade onto the arbor shaft, and then tighten the arbor nut by hand until it is snug
- 6 Use a wrench to finish tightening the arbor nut until it is tight enough that it cannot be moved by hand anymore
How to Change the Blade on a Circular Saw
Table of Contents
If you’re like most people, changing the blade on your circular saw is probably not something you do every day. In fact, it’s probably something you only do when the old blade gets so dull that it’s no longer effective. But even if you don’t change your blade very often, it’s still important to know how to do it properly.
After all, a dull blade is not only ineffective, but it can also be dangerous.
The first thing you need to do is unplug your saw. Even if the switch is in the “off” position, there is still electricity running through the saw and you don’t want to accidentally turn it on while you’re changing the blade.
Once the saw is unplugged, remove the battery if your saw has one.
Next, use the wrench that came with your saw to loosen the bolt that holds the blade in place. Be sure to hold onto the blade with one hand as you loosen the bolt – otherwise, the Blade may fall out and injure you.
Once the bolt is loose, remove both it and washer from The Arbor (the shaft that extends from The motor). You can now pull The Blade off of The Arbor.
Now take a look at The New Blade to make sure it’s compatible with your saw – different blades are designed for different types of cuts.
If everything looks good, go ahead and put The New Blade on The Arbor – again making sure to hold onto it with one hand as you thread on The Bolt and Washer (in that order). Once both are tight, re-attach The Battery or plug in your corded circular saw and give her a test run!
Credit: www.thedailygardener.com
Are Table Saw Blades Reverse Threaded?
Most table saw blades are not reverse threaded. The vast majority of blades have a standard right-hand thread. There are a few left-handed blades available, but they are far less common.
What is the First Step to Do When Changing a Blade on a Table Saw?
If you’re planning on changing the blade on your table saw, there are a few things you’ll need to do first. Here’s a quick rundown of what you need to do:
1. Unplug the table saw from its power source.
This is obviously a very important safety step. You don’t want to be working with any sort of power tool while it’s still plugged in and turned on.
2. Remove the throat plate.
The throat plate is the metal piece that covers the opening at the front of the table saw. In order to change the blade, you’ll need to remove this piece first.
3. loosen the arbor nut.
The arbor is the shaft that the blade is mounted on. In order to remove the old blade and install a new one, you’ll need to loosen the arbor nut using a wrench or socket set.
4. Remove the old blade and install the new one.
What are 4 Steps to Changing a Saw Blade?
If you’re anything like us, you love woodworking. And one of the most essential tools in any woodworker’s arsenal is a saw. But even the best saws will eventually need their blades changed.
So today we’re going to show you how to do just that. First, you’ll need to gather your materials. In addition to a new blade, you’ll need a wrench or two (depending on your saw model) and some gloves for safety.
Once you have everything, it’s time to get started. 1. Unplug your saw and remove the old blade. This is usually as simple as loosening a few bolts and sliding the old blade off.
Consult your saw’s manual if you’re unsure how to do this on your particular model. 2. Inspect the arbor (the shaft that the blade sits on) for damage and clean out any debris or buildup that might be present. A clean arbor is essential for proper blade installation and operation.
3. Install the new blade onto the arbor, making sure that it is tight and secure before moving on to step 4. Again, consult your manual if necessary – different models have different methods for attaching blades..
4 .Once the new blade is installed, reassemble your saw according to its instructions and plug it back in so you can test it out!
How Do I Change the Blade on My Craftsman Table Saw?
Assuming you have a Craftsman 10 inch table saw, model number 113.298090, here are the steps for changing the blade.
First, unplug the saw from the power source. Next, remove the throat plate by loosening the two screws that hold it in place.
With the throat plate removed, you should now be able to see the arbor nut. Use a wrench to loosen and remove the arbor nut.
With the arbor nut removed, you can now take off the old blade.
Be careful when removing it as blades can be very sharp. Take note of which way the blade was facing before removing it so you can put on the new blade facing the same direction. Also, make sure that your new blade is compatible with your saw model.
To install the new blade, simply reverse these steps – thread onthe arbor nut (again making sure it’s tight), put onthe new blade (with teeth pointing downwards), and then replace and tightenthe throat plate screws. You’re now ready to start using your table saw again!
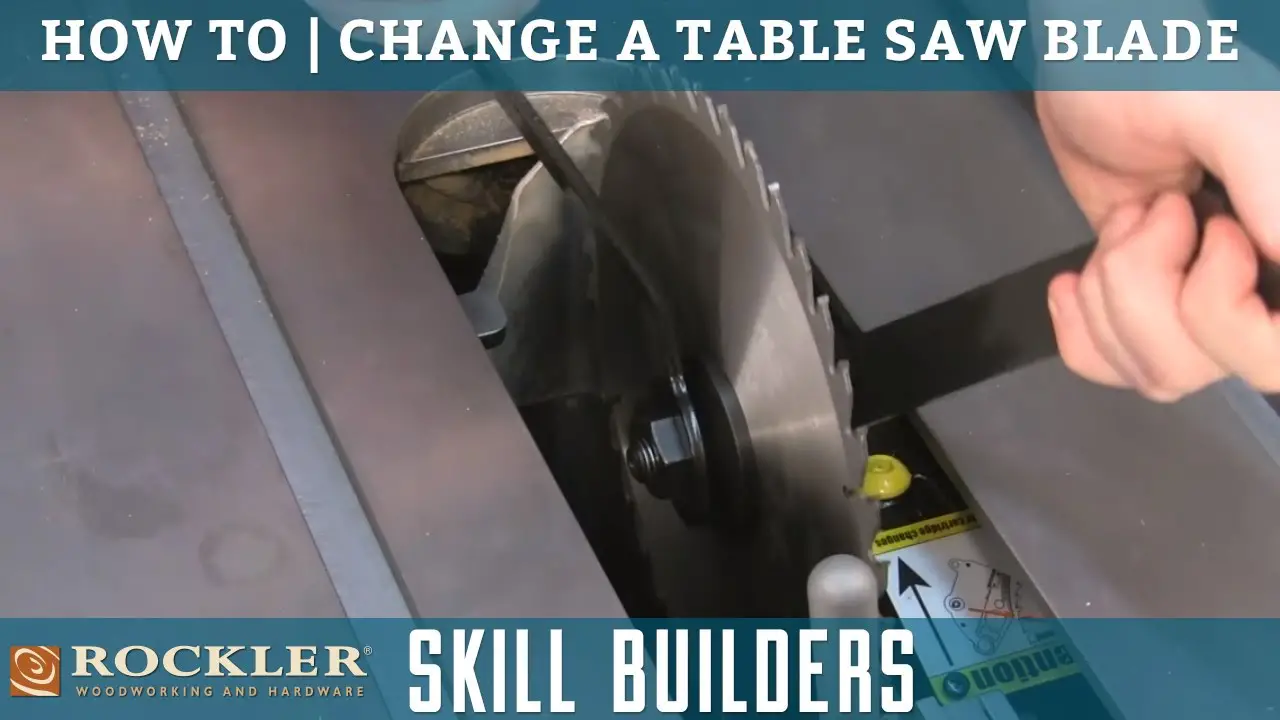
Table Saw Tip #6: How To Change A Table Saw Blade
Conclusion
If you’re new to woodworking, changing the blade on your table saw can seem like a daunting task. But with a little know-how, it’s actually a pretty simple process. Here’s how to do it:
1. Unplug your table saw and make sure the blade is completely stopped before beginning.
2. Remove the throat plate by loosening the screws that hold it in place.
3. Use a wrench to loosen the arbor nut that secures the blade to the spindle.
4. Carefully remove the old blade and install the new one, making sure that it is tight against the arbor flange.
5. Re-install the throat plate and tighten all of the screws securely.
