A bottom bowl gouge has an angle of 45 degrees. This means that the cutting edge is at a right angle to the shaft. The bevel is ground to this angle so that it can cut into the bottom of a bowl.
A bottom bowl gouge is a tool that is used to shape the bottom of a bowl. The angle of the bottom bowl gouge is important in order to create the desired shape. The most common angle for a bottom bowl gouge is 45 degrees.
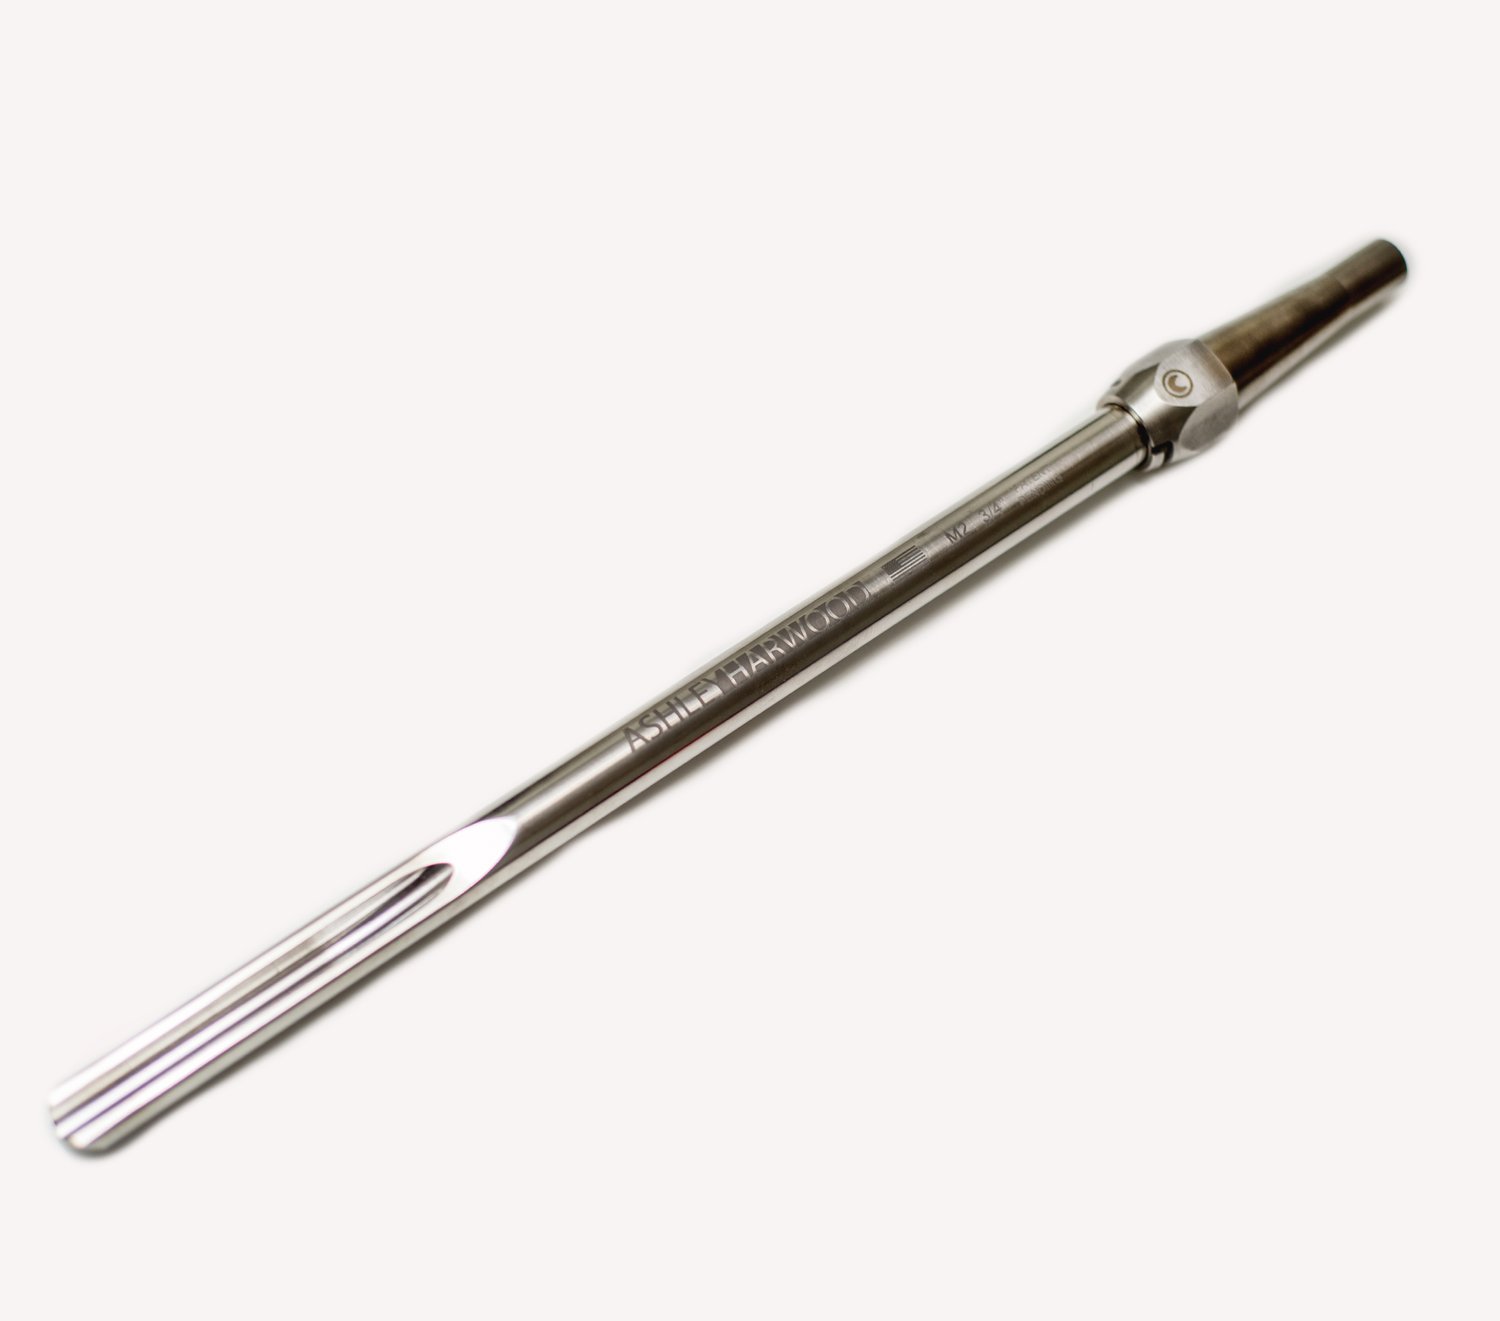
Understanding the Bottom Feeder Bowl Gouge with Sam Angelo
Table of Contents
How Do You Sharpen a Bottom Bowl Gouge?
There are a few ways to sharpen a bottom bowl gouge. One way is to use a sharpening jig. Another way is to use a honing guide.
And yet another way is to freehand sharpening. We will go over all three methods below.
Sharpening with a Jig:
To use a jig, you’ll need to first set the angle of the bevel using an angle finder or protractor. Once the bevel angle is set, you can clamp the gouge in the jig so that the cutting edge is protruding from the body of the tool at the correct angle. With the gouge clamped in place, you can then begin sharpening with a grinding wheel or wet stone.
Start by applying light pressure and gradually increase pressure as you work your way down the length of the cutting edge. Be sure to keep the entire length of the cutting edge in contact with the abrasive surface at all times. When you reach the end of the cutting edge, move back up to where you started and repeat this process until you have achieved a razor-sharp edge.
Sharpening with a Honing Guide:
A honing guide can be used in much the same way as a jig, but it doesn’t require that you set an exact bevel angle beforehand. To use a honing guide, simply clamp it onto your Gouge so that The Cutting Edge is protruding from The Tool Body at The Correct Angle (usually around 25 degrees).
With The Gouge Clamped In Place, You Can Then Begin Sharpening With A Grinding Wheel Or Wet Stone. Start By Applying Light Pressure And Gradually Increase Pressure As You Work Your Way Down The Length Of The Cutting Edge. Be Sure To Keep The Entire Length Of The Cutting Edge In Contact With The Abrasive Surface At All Times When You Reach The End Of The Cutting Edge Move Back Up To Where You Started And Repeat This Process Until You Have Achieved A Razor-Sharp Edge.
}
Freehand Sharpening:
Freehand sharpening means just that – sharpening without using any type of guide or jig. This method requires more practice and skill than either ofThe Other Two Methods But Can Be Done Quite Easily Once You GetThe Hang Of It .
What is the Best Angle for Spindle Gouge?
There is no definitive answer to this question as it depends on a number of factors, such as the type of material you are working with and the desired results. However, in general, the best angle for spindle gouge is between 20 and 30 degrees.
What is the Angle of a Spindle Gouge?
A spindle gouge is a tool that is used to create and shape woodworking projects on a lathe. The angle of the spindle gouge is determined by the type of woodworking project you are working on. For example, if you are creating a bowl, the angle of the gouge will be different than if you are shaping a piece of furniture.
The best way to determine the angle of your Gouge is to consult with a professional or look up diagrams online for your specific project.
What is the Best Grind for a Bowl Gouge?
There are a few different types of grinds that can be used on a bowl gouge, but the best grind is typically a fingernail grind. This grind gives the user more control over the gouge and allows for more precision when carving. The downside to this grind is that it can take more time to sharpen the gouge.

Credit: www.aawforum.org
Thompson Bottom Bowl Gouge
There are a few different types of bowl gouges, but the Thompson Bottom Bowl Gouge is one of the most popular. This type of gouge is used to create bowls with a flat bottom. The Thompson Bottom Bowl Gouge is named after its inventor, Leonard Thompson.
The blade on this type of gouge is shorter and wider than other bowl gouges. This makes it easier to control when carving bowls with a flat bottom. The handle is also designed for comfort and control, making it one of the best options for beginner carvers.
If you’re looking for a versatile bowl gouge that can handle both small and large projects, the Thompson Bottom Bowl Gouge is a great option.
Bottom Feeder Bowl Gouge Grind
Bottom Feeder Bowl Gouge Grind
A bottom feeder bowl gouge is a tool that is used to remove material from the bottom of a bowl. This type of gouge has a fluted blade that is designed to cut through wood quickly and easily.
The flutes on the blade help to remove material evenly, which prevents the formation of divots or uneven surfaces.
This type of gouge is typically used by woodturners who are working on bowls with large diameters. The bottom feeder design helps to prevent the tool from becoming stuck in the wood, making it easier to turn bowls with larger diameters.
Roughing Gouge Angle
There are a few different ways that you can hold a roughing gouge while turning on a lathe. The most common is to grip it with your index finger in front of the flute and your thumb and middle finger behind the flute. You can also reverse this grip, or even hold it like a pencil with your index finger behind the flute.
The important thing is to find what feels most comfortable for you and gives you the most control.
The angle that you hold the gouge at will also affect how well it cuts. A good starting point is to hold it at around 45 degrees to the workpiece.
You can experiment with different angles to see what gives you the best results. Just remember that a sharper angle will give you a finer cut, while a shallower angle will be more aggressive.
5/8 Bottom Bowl Gouge
There are a few different ways to hold a bottom bowl gouge for optimum cutting. The first and most common way is to grip it with your index finger in front of the flute and your thumb and middle finger behind the flute. You will want to have about equal pressure on both sides of the blade.
Another way to hold it is with your index finger in front of the flute, your ring finger behind the flute, and your pinky resting on top of the handle. This provides more stability but may be less comfortable for some people.
The 5/8″ bottom bowl gouge is a great all around size for most bowls.
It can be used for roughing out as well as finishing cuts. When using this gouge, you will want to keep the bevel angle between 35-40 degrees. Any sharper and it will chatter, any blunter and it will not cut as efficiently.
This particular size also works well for hollowing small vessels such as cups or vases.
One thing to keep in mind when using any bowl gouge is that you always want to go “with the grain” or else you risk tear out or chipping off large chunks of wood. Also, always start at the outside edge of the bowl and work your way in towards the center so that you have more control over where the shavings are going (you don’t want them flying into your face!).
55 Degree Swept Back Bowl Gouge
A bowl gouge is a tool used to shape and smooth the inside of a wooden bowl. The most common type of bowl gouge has a blade that is curved and swept back at a 55 degree angle.
Bowl gouges are used to remove excess wood from the inside of a bowl, as well as to smooth and shape the bowl’s interior surface.
The curved blade on a bowl gouge allows it to reach into the deepest parts of the bowl, making it an essential tool for anyone who wants to create beautiful, hand-crafted bowls.
The swept back blade on a 55 degree angle provides greater control and stability when shaping the inside of abowl. This type of bowl gouge is also less likely to catch on the wood and cause chips or scratches.
When using a bowl gouge, it is important to keep the tip of the blade in constant contact with thewood. This will help you achieve an even cut and avoid any accidental damage to your workpiece. Always start with light cuts and gradually increase pressure as needed.
With practice, you’ll be able to create beautiful bowls that are sure to impress your friends and family!
How to Sharpen a Bowl Gouge by Hand
If you’ve ever sharpened a bowl gouge by hand, you know it can be a bit of a challenge. Here are a few tips to help you get the perfect edge on your bowl gouge.
1. Start with a clean, dry blade.
A clean blade will help you see what you’re doing and prevent any unwanted nicks or scratches.
2. Use a sharpening stone that’s appropriate for the type of steel in your blade. For example, if you’re using a high-carbon steel blade, use a harder stone such as an Arkansas stone.
If you’re using a softer steel, use a softer stone such as a Japanese waterstone.
3. Hold the bowl gouge at the correct angle to the stone. For most bowl gouges, this is about 30 degrees from horizontal.
This may vary depending on the design of your particular gouge, so check your owner’s manual for guidance if necessary.
4. Use slow, even strokes to sharpen the entire length of the cutting edge evenly. Don’t forget to also sharpen the “throat” of the Gouge -the area just behind the cutting edge where it meets the body of the tool .
A properly sharpened throat will help prevent tear-out when carving . test
How to Measure the Angle of a Bowl Gouge
Angle gauges are an important tool for any woodturner. They help us to set and maintain the correct angles on our tools, which in turn affects the quality of our work. There are a few different types of angle gauges available, but the most common is the protractor type.
This type of gauge has a base with a hole in it that fits over the point of the lathe center, and a arm that extends out from the base at a 90 degree angle. The arm has a scale marked on it in degrees, usually from 0 to 60.
To use this type of gauge, first make sure that your lathe is properly centered.
Then place the base of the gauge over the point of the lathe center and align the arm so that it is perpendicular to the bed of the lathe (you may need to adjust your position slightly to do this). Once you have done this, simply read off the angle that you need from the scale on the arm. For example, if you want to sharpen your bowl gouge at an 25 degree angle, you would set your gauge so that 25 degrees is lined up with either 0 degrees or 60 degrees onthe scale (it doesn’t matter which one you use as long as you are consistent).
You can then either draw a line on your tool using this setting as a reference, or better yet, use a sharpie to mark where25 degrees lines up onthe arm itself. After that, it’s just a matterof maintainingthis setting each time you sharpen your gouge!
Conclusion
The blog post discusses the different types of bottom bowl gouges and their angles. The author provides detailed information on each type of gouge and what angle is best for each one. In conclusion, the author states that the best angle for a bottom bowl gouge is determined by the type of wood being carved and the desired effect.