There are several key differences between a brad nailer and a finish nailer. Finish nailers are larger and have a longer reach than brad nailers. They also have a higher capacity for nails, meaning they can shoot more nails before needing to be reloaded.
Finish nailers also have stronger springs, which makes them better suited for driving nails into harder woods. Finally, finish nailers typically have thicker shanks on their nails, which provides greater holding power.
A brad nailer is a type of nail gun that uses small, thin nails. Brad nailers are typically used for smaller projects or for attaching trim. Finish nailers are larger and use thicker nails.
They’re better suited for heavier duty projects, like attaching baseboards or crown molding.
Brad Nailer vs. Finish Nailer: Which is Better for You?
Table of Contents
What is the Difference between a Brad Nailer And a Finish Nailer
There are a few key differences between brad nailers and finish nailers. Finish nailers are generally larger and have a longer nose, which gives you more control over where the nails are placed. They also have a slightly higher PSI than brad nailers, meaning they can drive the nails in harder materials more easily.
Finally, finish nailers usually come with an anti-jam feature that helps to clear out any jammed nails quickly and easily.
What are the Benefits of Using a Brad Nailer Over a Finish Nailer
There are a few benefits of using a brad nailer over a finish nailer. Brad nailers are smaller and lighter than finish nailers, so they’re easier to maneuver around tight spaces. They also have a smaller nose, which gives you more control when nailing into delicate materials.
Plus, the smaller nails used by brad nailers leave behind much smaller holes than finish nailers, making them ideal for projects where an invisible fastener is desired.
How Do I Choose the Right Size Brad Nail for My Project
There are a few factors to consider when choosing the right size brad nail for your project. The first is the thickness of the material you’re nailing into. If you’re nailing into something thin, like drywall, you’ll want to use a smaller brad nail.
If you’re nailing into something thick, like lumber, you’ll want to use a larger brad nail.
Another factor to consider is the length of the brad nail. You’ll want to choose a length that’s long enough to penetrate through the material you’re nailing into and reach the studs behind it.
Otherwise, your nails won’t be very sturdy and could easily pop out.
Finally, take into account what type of finish you want on your project. If you’re going for a more polished look, then choose smaller brads with thinner heads so they can be less noticeable.
If you don’t mind the nails being visible, then go for larger ones that will provide more holding power.
No matter what size or length of brad nail you choose, always test it out on a scrap piece of wood before starting your project so that you can get a feel for how it works and make any necessary adjustments.
What are Some Tips for Using a Brad Nailer Effectively
When it comes to nailing, a brad nailer is one of the most versatile and effective tools you can have in your arsenal. Here are some tips on how to use a brad nailer effectively:
1. Choose the right size nails.
Brad nails come in a variety of sizes, so make sure you select the size that is appropriate for the project you’re working on. If you’re not sure, err on the side of slightly larger nails – they can always be trimmed down if necessary.
2. Consider your surface material.
The type of surface you’re nailing into will also dictate what size nail you should use. Softer materials like wood or drywall require smaller nails, while harder surfaces like concrete or brick necessitate larger ones.
3. Pre-drill pilot holes if needed.
This step is particularly important when working with harder materials – pre-drilling makes it much easier to drive the nails in and prevents them from splitting the material. Just be sure to drill straight down, as angled pilot holes can cause your nails to veer off course.
4 .
Use oil if needed . If your brad nailer isn’t firing properly , chances are there’s too much friction somewhere in the system . A few drops of oil should help get things moving again .
Just be careful not to overdo it – too much oil can actually gum up the works .
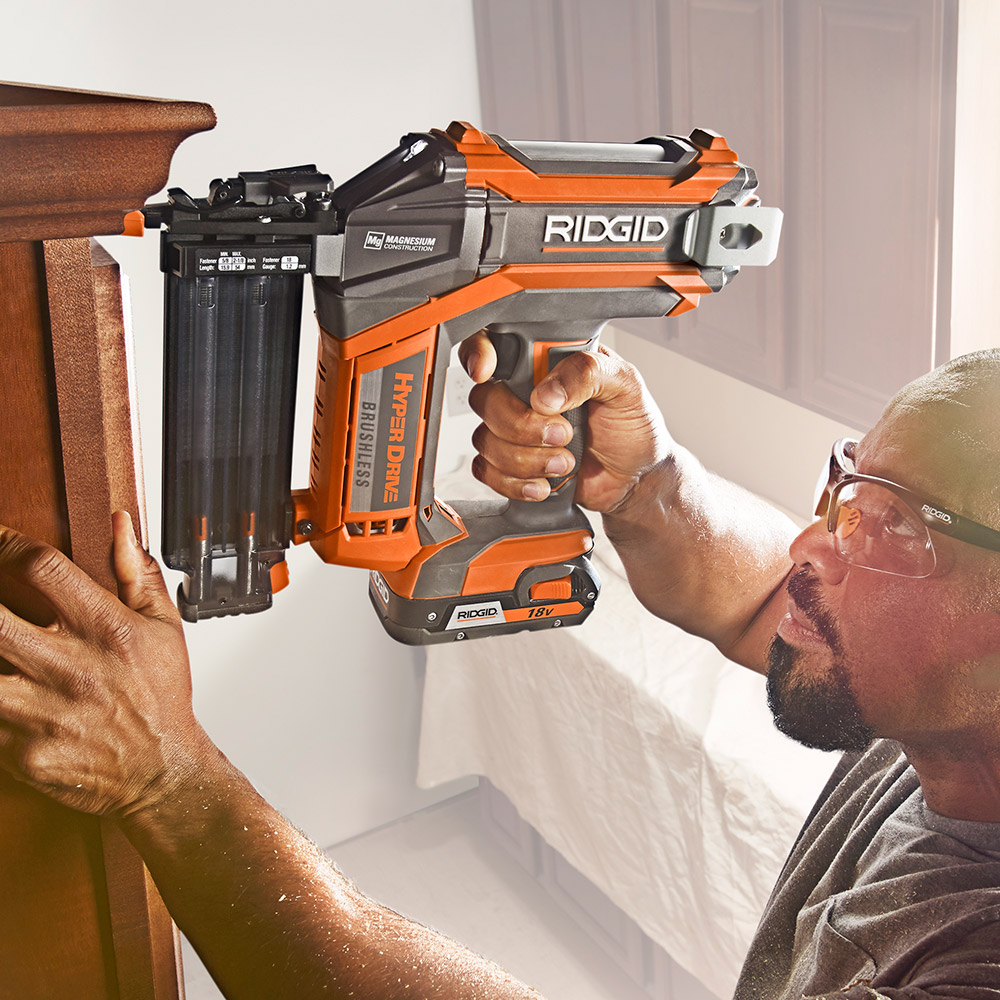
Credit: www.homedepot.com
Conclusion
When it comes to nailing projects around the house, you might be wondering what the difference is between a brad nailer and a finish nailer. Both are handy tools that can make your life a lot easier when it comes to tackling home improvement projects. Here’s a look at the key differences between these two types of nailers:
A brad nailer is designed for smaller nails, typically ranging from 18-gauge to 23-gauge. These nails are ideal for trim work, molding, and other delicate projects where you don’t want to damage the material. A finish nailer, on the other hand, uses larger nails (usually 16-gauge or larger) and is better suited for heavier duty tasks like attaching baseboards or crown molding.
Another key difference between these two types of nailers is that a brad nailer uses compressed air to drive the nails into the material, while a finish nailer uses an electric motor. This means that a finish nailer will likely be more powerful and have more torque than a brad nailer. However, it also means that you’ll need access to an electrical outlet in order to use it.
So, which type of nailer should you choose? It really depends on the project you’re working on and your personal preferences. If you’re doing something delicate where precision is key, then a brad nailer would be your best bet.
For bigger jobs that require more power, go with a finish nailer.
