Dried beads of wood glue can quickly dull planer blades. This occurs due to the hardened glue’s abrasive nature when it comes into contact with the blades, leading to a loss in sharpness and effectiveness during planing.
A planer is a powerful woodworking tool used to level and smooth wood surfaces, removing imperfections and creating uniform thickness. The blades of a planer are crucial for its proper functioning, as they make continuous contact with the wood during the planing process.
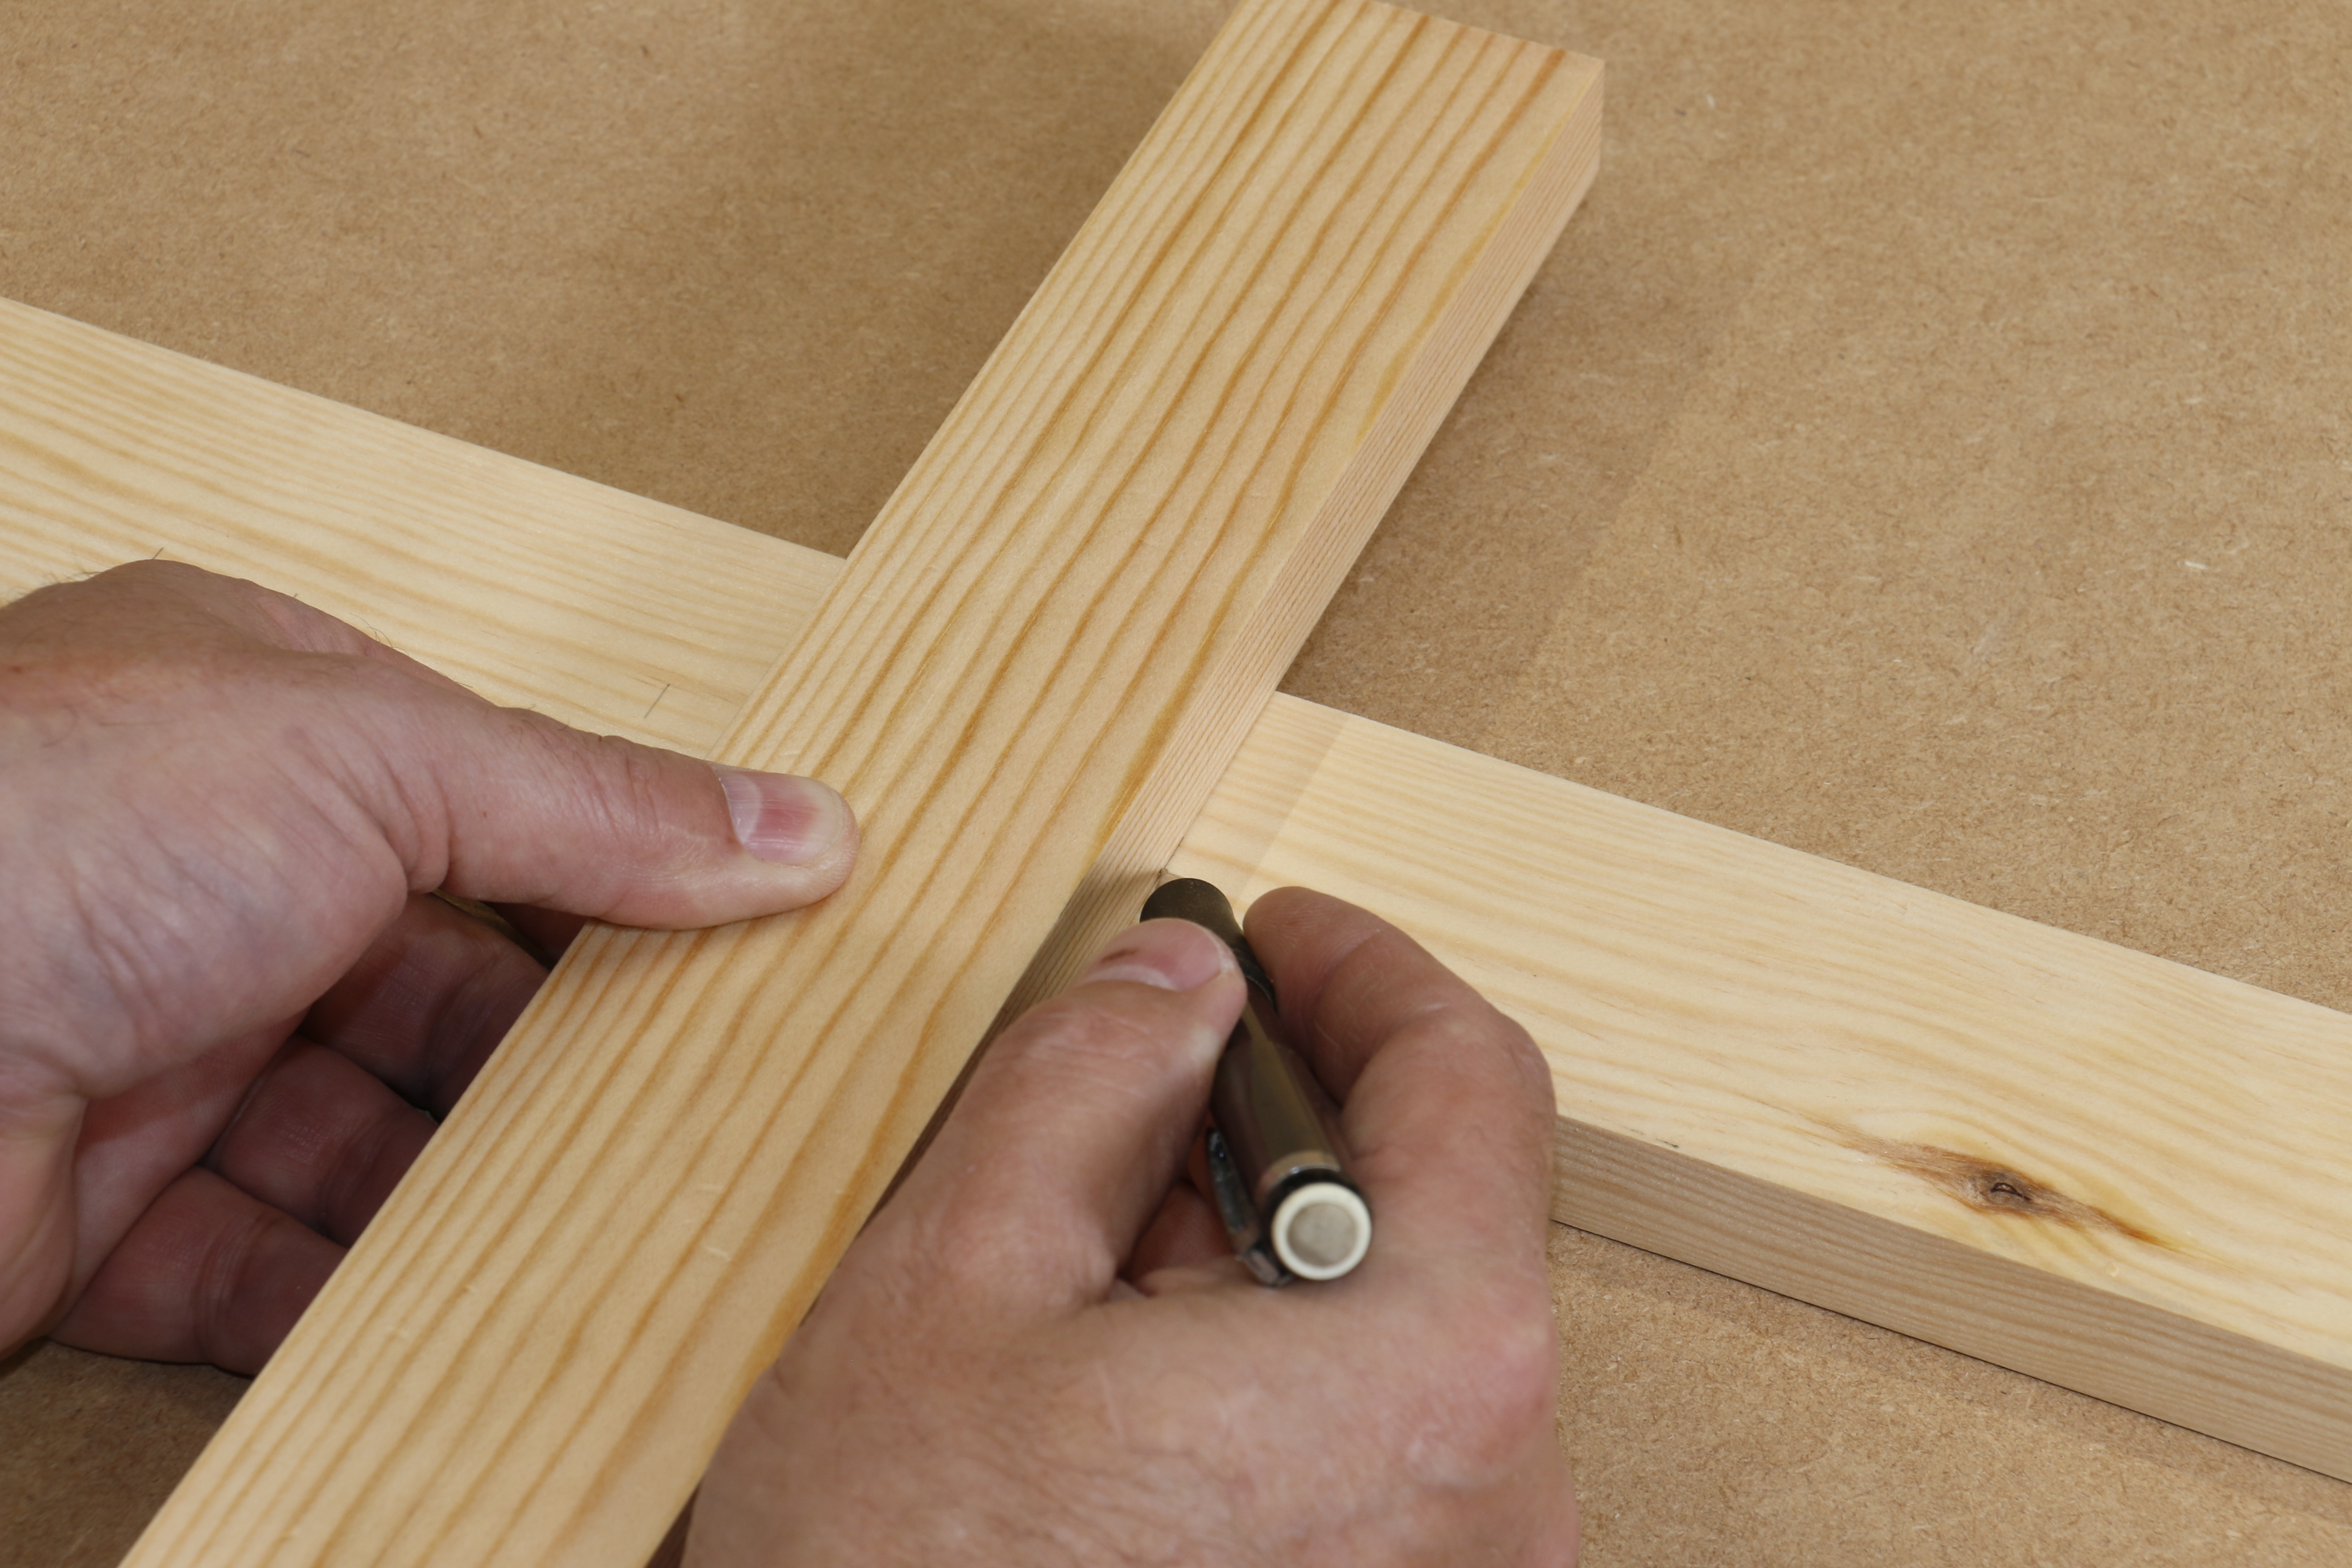
Wood glue is commonly used in woodworking projects to bond pieces of wood together securely. However, when excess glue is not completely removed and allowed to dry on the wood’s surface, it can form small beads or clumps. These hardened beads can be quite abrasive and can quickly dull planer blades. In order to maintain the sharpness and effectiveness of planer blades, it is important to carefully remove any dried beads of wood glue before planing. Regular blade maintenance, such as sharpening and cleaning, should also be performed to ensure optimal performance and prolong the life of the blades.
Understanding The Impact Of Dried Wood Glue On Planer Blades
Table of Contents
Dried beads of wood glue can quickly dull planer blades, impacting their effectiveness. A build-up of hardened glue can reduce the blade’s sharpness, leading to inefficient planing and potential damage to the wood surface. Understanding this impact is crucial for maintaining optimal planer performance.
Dried wood glue can have a significant impact on the performance and longevity of planer blades. It’s important to understand how this common issue can affect the effectiveness of your planer and why it’s crucial to maintain sharp blades. Let’s explore the details:
How Dried Wood Glue Affects Planer Blades:
- Residue buildup: When wood glue is left to dry on planer blades, it can form a hard, sticky residue that adheres to the blade surface. This residue can cause various issues, including:
- Uneven cuts: The presence of dried wood glue on planer blades can cause irregular cuts on the wood surface. This leads to a less desirable finish and an overall decrease in the quality of the planed material.
- Reduced blade efficiency: The residue buildup can create friction between the blades and wood, resulting in increased resistance during planing. This can cause blades to become less efficient and less effective at removing material, resulting in slower processing times.
- Blade damage: The hardened glue residue can also cause damage to the blades themselves. As the blades spin, the residue can create friction and heat, leading to premature dulling or even blade warping.
- Dulling of blades: Dried wood glue can quickly dull planer blades due to the nature of the substance and its effect on cutting edges. Here’s how it happens:
- Hardened glue is abrasive: Dried wood glue has a hard and abrasive nature, which can wear down the sharp edges of planer blades faster than regular wood surfaces. This constant friction gradually dulls the blades over time, reducing their cutting performance.
- Adhesive nature hampers blade functionality: The stickiness of dried wood glue can cause it to stick to the blades, interfering with their ability to make clean and precise cuts. This can further contribute to blade dulling and compromise the overall planing result.
The Importance Of Maintaining Sharp Planer Blades:
- Improved cutting performance: Sharp planer blades ensure smooth and precise cuts, resulting in high-quality finished products. Maintaining sharp blades allows for faster material removal and reduces the risk of tear-out or uneven surfaces.
- Efficient material processing: Dull planer blades require multiple passes and increased pressure to achieve desired results. Keeping the blades sharp improves efficiency by reducing processing time and energy consumption.
- Longer blade lifespan: Regularly sharpening and maintaining planer blades can extend their lifespan. This saves you money on frequent blade replacements and ensures consistent performance throughout their usage.
- Enhanced safety: Sharp blades reduce the likelihood of accidents or kickback during the planing process. Blunt blades may contribute to material jamming, unexpected movements, or other potential safety hazards.
By understanding how dried wood glue affects planer blades and recognizing the importance of maintaining sharp blades, you can ensure optimal planer performance and achieve excellent woodworking results. Regular cleaning and maintenance of your planer blades, along with cautionary measures when working with wood glue, will help you avoid unnecessary complications and enhance your overall woodworking experience.
Factors That Contribute To Dulling Planer Blades
Dried beads of wood glue can contribute to the quick dulling of planer blades due to their hard and abrasive nature. The blades can easily become damaged when they come into contact with the glue beads, leading to a decrease in their sharpness and efficiency.
Dried beads of wood glue can indeed dull planer blades quickly. However, there are several other factors that can contribute to the dulling of planer blades. In this section, we will explore three main contributors to blade dullness: different types of wood glue, moisture content in glue beads, and frequency of use and cleaning practices.
Different Types Of Wood Glue And Their Effects On Blades
- Polyurethane glue: This type of glue is known to be highly resistant to moisture and can form sturdy bonds. However, it can be challenging to remove from planer blades, leading to faster dulling.
- PVA glue: This water-based glue is popular due to its ease of use and quick drying time. While it is generally easier to clean from planer blades than polyurethane glue, frequent use can still result in blade dullness.
- Epoxy glue: Epoxy glues are known for their exceptional adhesive properties and resistance to moisture. However, they can be particularly difficult to remove from blades, potentially leading to increased dulling.
The Role Of Moisture Content In Glue Beads And Blade Dulling
- Moisture content: When wood glue beads contain high moisture content, there is a greater likelihood of the glue transferring onto planer blades. Moisture can accelerate the dulling process by weakening the blade’s cutting edge and promoting corrosion.
- Incomplete drying: Insufficient drying time for wood glue beads can result in a sticky residue being left on the planer blades. This residue can attract debris and create friction during planing, causing the blades to dull more quickly.
Frequency Of Use And Cleaning Practices
- Frequency of use: The more frequently a planer is used, the more wear and tear the blades endure. Continuous usage without sufficient maintenance increases the likelihood of blade dulling.
- Cleaning practices: Proper cleaning of planer blades is essential to prevent the buildup of glue residue and other debris. Regular cleaning helps maintain the blades’ sharpness and extends their lifespan. However, improper cleaning techniques or the use of abrasive tools can inadvertently damage the blades, leading to faster dulling.
Remember, while dried beads of wood glue do contribute to the dulling of planer blades, other factors such as the type of glue used, moisture content, and maintenance practices also play significant roles. By understanding these factors and implementing appropriate measures, you can prolong the life of your planer blades and ensure efficient woodworking operations.
Preventing Dull Planer Blades Due To Dried Wood Glue
Dried wood glue beads can quickly dull planer blades. Prevent this by ensuring the glue is completely dry and clean before using the planer.
Woodworking projects often involve using wood glue to bond pieces of wood together. While wood glue is an essential tool in the workshop, its dried beads can wreak havoc on planer blades, leading to dullness over time. To prevent this issue and keep your planer blades in optimal condition, implementing proper cleaning techniques, using preventive measures during woodworking projects, and practicing effective storage and handling of wood glue are crucial.
Proper Cleaning Techniques To Remove Dried Glue:
- Remove excess dried wood glue by gently scraping it off the surface of the wood using a putty knife, taking care not to damage the planer blades.
- Dampen a cloth or sponge with warm water and mild soap, and gently rub the affected area to soften the dried glue.
- Use a plastic or wooden scraper to scrape off the softened glue residue, ensuring not to use any metal tools that may scratch the planer blades.
- Rinse the wood thoroughly with clean water, and pat it dry with a clean cloth.
Using Preventive Measures During Woodworking Projects:
- Apply a nonstick coating, such as wax or silicone spray, to the planer blades before using wood glue. This coating creates a barrier between the glue and the blades, making it easier to remove any dried beads.
- Cover the planer blades with masking or painter’s tape before applying wood glue to the project. This protective layer prevents dried glue from coming into direct contact with the blades, reducing the risk of blade dullness.
- Clean excess glue immediately with a damp cloth during the woodworking process. Prompt removal of fresh glue minimizes the chances of it drying into hard, bead-like formations that can damage the planer blades.
Storing And Handling Wood Glue To Avoid Blade Damage:
- Store wood glue upright in a cool, dry place, away from extreme temperatures or direct sunlight. Fluctuations in temperature can cause the glue to separate or change in consistency, increasing the likelihood of dried beads forming.
- Before using wood glue, shake the bottle or container well to ensure proper consistency and avoid the formation of dried beads within the glue itself.
- When dispensing wood glue, use controlled amounts and avoid applying excessive pressure, as this can result in the glue splattering onto the planer blades.
- After each use, tightly seal the wood glue container to prevent air exposure and drying out of the glue.
By following these preventive measures and implementing proper cleaning techniques, you can significantly reduce the chances of dried wood glue dulling your planer blades. Protecting the longevity and efficiency of your blades not only saves you time and effort, but also ensures that your woodworking projects yield smooth and precise results.
Sharpening And Maintenance Tips For Planer Blades
Dried beads of wood glue can quickly dull planer blades. To maintain sharpness, it is important to clean and remove any glue residue from the blades regularly. Proper maintenance will ensure optimal performance and longevity of the planer blades.
Planer blades are a vital part of ensuring smooth and precise cuts in your woodworking projects. Over time, these blades can become dull, affecting the quality of your work. In this section, we will discuss some essential tips for sharpening and maintaining planer blades to prolong their lifespan and keep them in optimal condition.
Step-By-Step Guide To Sharpening Planer Blades:
- Inspect the blades: Before you begin sharpening, carefully inspect the blades for any signs of damage or excessive wear. Look for nicks, chips, or uneven edges that may require more attention during the sharpening process.
- Remove the blades: Remove the planer blades from the machine, following the manufacturer’s instructions. Take extra caution during this step as the blades can be sharp.
- Clean the blades: Use a mild solvent or cleaner to remove any dirt, debris, or residue from the blades. This will ensure a smooth sharpening process and prevent any build-up that might affect blade performance.
- Choose the right sharpening method: There are different methods for sharpening planer blades, including using a sharpening stone, a grinder, or a honing guide. Select the method that suits your skills and resources.
- Sharpening angle: Determine the correct sharpening angle for your planer blades. This information is usually provided in the manufacturer’s instructions. Use a protractor or angle guide to achieve accurate results.
- Begin sharpening: Start by holding the sharpening tool firmly against the edge of the blade. Move the tool back and forth along the entire length of the blade, maintaining a consistent angle and pressure. Repeat this process until you achieve a sharp edge on both sides of the blade.
- Remove burrs: After sharpening, remove any burrs or rough edges from the blades. This can be done using a honing stone or by lightly stroking the blades against a piece of wood.
- Check blade balance: Before reassembling the planer, check the blade balance. If there is an imbalance, you may need to remove a little more material from the heavier side.
- Reinstall and test: Carefully reinstall the sharpened blades back into the planer, ensuring they are secure and properly aligned. Test the planer to ensure the blades are functioning smoothly and cutting accurately.
- Regular maintenance: Regularly inspect and maintain your planer blades to prevent them from becoming dull or damaged. Cleaning the blades after each use and storing them in a dry and safe place will help prolong their lifespan and preserve their sharpness.
Regular Maintenance Practices To Prolong Blade Lifespan:
- Clean the blades after each use to remove any sawdust, resin, or other debris.
- Apply a thin coat of oil or silicone spray to prevent rust and corrosion.
- Store the blades properly in a dry and dust-free environment.
- Use a blade guard or cover when the planer is not in use.
- Avoid exposing the blades to extreme temperatures or moisture.
- Check the blade alignment regularly to maintain optimal performance.
- Replace blades if they are excessively worn, damaged, or unable to be sharpened effectively.
Choosing The Right Sharpening Tools And Techniques:
- Sharpening stones: Ideal for achieving a fine edge, sharpening stones come in various grits for different levels of sharpening. Use water or honing oil to lubricate the stone and ensure a smooth sharpening process.
- Grinders: Grinders with a suitable sharpening wheel can remove material quickly, making them a time-efficient option. However, they require steady hands and experience to maintain the correct sharpening angle.
- Honing guides: Honing guides help maintain a consistent angle during the sharpening process. They are particularly useful for beginners or those who struggle with keeping a steady hand.
- Diamond plates: Diamond plates offer fast and effective sharpening, with the advantage of being durable and long-lasting. They are suitable for both initial sharpening and touch-ups.
By following these sharpening and maintenance tips, you can ensure that your planer blades remain sharp, precise, and long-lasting. Planer blades that are in optimal condition will result in smoother cuts and enhance the overall quality of your woodworking projects.
Common Misconceptions About Dried Wood Glue And Planer Blades
Dried beads of wood glue do not quickly dull planer blades, contrary to common misconceptions. Properly dried wood glue poses no significant harm to planer blades, allowing for efficient and effective woodworking projects.
Addressing Myths And Incorrect Information
Dried wood glue and the impact it has on planer blades is a topic of much debate and confusion among woodworking enthusiasts. There are several common misconceptions that have been circulating, causing confusion and concern. In this section, we will address these myths and provide an accurate understanding of the relationship between dried wood glue and planer blades.
Myth: Dried Beads Of Wood Glue Quickly Dull Planer Blades
Contrary to popular belief, dried beads of wood glue do not necessarily lead to the rapid dulling of planer blades. While it is true that wood glue can harden and present challenges during planing, the impact on blade longevity is often exaggerated.
Let’s explore the truth behind this misconception:
- Wood glue beads can create an uneven surface on the wood, causing more stress on the blades.
- Planer blades may require resharpening or replacement after extended use, regardless of the presence of dried wood glue.
- Proper blade maintenance and regular cleaning can significantly reduce the impact of dried wood glue on blade performance.
Myth: Dried Wood Glue Cannot Be Removed From Planer Blades
Another common misconception is that once dried, wood glue cannot be effectively removed from planer blades. However, this is not entirely accurate. Here are the facts:
- Dried wood glue can be removed from planer blades with careful and meticulous cleaning.
- Using a solvent or adhesive remover specifically designed for woodworking can help dissolve and remove dried glue.
- Regular examination and cleaning of planer blades, including the removal of dried wood glue, will help maintain optimal performance.
Myth: Any Type Of Wood Glue Will Have The Same Impact On Planer Blade Performance
It is important to understand that not all wood glues are created equal. This leads us to another misconception: all types of wood glue will have the same impact on planer blade performance. Here’s what you need to know:
- Different wood glues have varying levels of hardness and adhesive properties, which can influence the impact on planer blades.
- Some wood glues may dry harder and create more challenges during planing, while others may have a lesser impact on blade longevity.
- It is essential to choose the appropriate wood glue for your woodworking project, considering its impact on planer blade performance.
In Summary
By addressing these common misconceptions, we can now have a clearer understanding of the relationship between dried wood glue and planer blades. While dried wood glue can present challenges during planing and may require careful blade maintenance, it does not necessarily result in rapid dulling of the blades.
Proper cleaning, maintenance, and the use of suitable wood glue can help maintain optimal planer blade performance.
Credit: www.trend-usa.com
Tools And Accessories To Aid In Planer Blade Maintenance
Maintaining planer blades becomes effortless with the right tools and accessories. However, dried beads of wood glue can quickly dull these blades, making it essential to clean them thoroughly before use. Find effective solutions to keep your planer blades sharp and ready for any task.
Are you looking for tools and accessories to keep your planer blades sharp and in optimal condition? Look no further! In this section, we will discuss the various options available to assist you in maintaining your planer blades. From selecting the right cleaning tools and solvents to helpful accessories, we have got you covered.
Selecting The Right Cleaning Tools And Solvents:
Maintaining sharp planer blades starts with proper cleaning. Here are some tools and solvents that can aid in effective blade maintenance:
- Brass wire brush: An essential tool for removing stubborn debris and residue from your planer blades without causing any damage.
- Blade cleaning solvent: A specialized solvent that effectively removes pitch, gum, and other build-up from the blades. Look for a solvent that is safe to use on woodworking tools and has a fast-drying formula.
- Safety goggles and gloves: Ensure your safety by wearing protective goggles and gloves while cleaning the blades. This will protect your hands from any potential injuries and your eyes from flying debris.
Helpful Accessories For Maintaining Sharp Planer Blades:
In addition to cleaning tools, there are various accessories available that can assist you in keeping your planer blades sharp and efficient. Consider the following options:
- Blade honing guide: A honing guide helps you maintain the correct angle while sharpening your planer blades, ensuring consistent results and prolonging their lifespan.
- Sharpening stones: Invest in high-quality sharpening stones to remove any nicks or dullness from your blades. Look for stones with different grits to achieve the desired level of sharpness.
- Planer blade setting jigs: These jigs ensure accurate and consistent blade alignment, reducing the chances of snipe and ensuring smooth planing results.
Recommendations For Products That Aid In Prevention And Sharpening:
Now let’s explore some recommended products that can aid in preventing blade dullness and assist in sharpening your planer blades effectively:
- Blade and Bit Cleaner: This multi-purpose cleaner is specifically designed to remove pitch, resin, and adhesive build-up from planer blades, ensuring optimal performance.
- Diamond Honing Stone: Consider investing in a diamond honing stone for quick and efficient blade sharpening. The diamond surface provides superior hardness and durability for long-lasting performance.
- Planer Blade Wax: Applying a layer of planer blade wax can help prevent pitch build-up on the blades, reducing friction and extending their lifespan.
Remember, selecting the right tools, accessories, and cleaning solvents are key to maintaining sharp planer blades. By regularly cleaning, sharpening, and using preventive products, you can ensure that your planer blades remain in top condition, delivering precise and smooth woodworking results.
Tips For Extending The Lifespan Of Planer Blades
To extend the lifespan of planer blades, it is important to avoid using dried beads of wood glue as they can quickly dull the blades. Regularly cleaning the blades and keeping them sharp will help maintain their efficiency and longevity.
Proper handling and usage techniques:
- Always ensure that the planer blades are securely tightened before operating the tool. Loose blades can lead to vibrations that can accelerate wear and tear.
- Avoid running the planer over materials with embedded grit or foreign objects. This can cause the blades to dull quickly.
- Maintain a consistent feeding rate when planing wood. Rapid acceleration or sudden stops can put unnecessary stress on the blades, reducing their lifespan.
- When encountering knots or irregular grain patterns, take smaller passes to minimize strain on the blades.
- Before planing, ensure that the material is clean and free from any debris or excess adhesive. This helps prevent the glue from adhering to the blades and causing them to become dull.
Additional measures to minimize blade wear and tear:
- Consider using blade covers when the planer is not in use. This protects the blades from accidental damage and keeps them clean.
- Use a planer sled or sacrificial board when planing highly figured or expensive wood. This helps reduce the possibility of tear-out and prevents excessive wear on the blades.
- Evaluate the moisture content of the wood before planing. Wood with high moisture levels can cause the blades to dull faster due to the increased friction and heat generated.
- If possible, alternate the use of multiple sets of planer blades. This allows each set to rest and recover from wear, extending their overall lifespan.
- Regularly inspect the blades for signs of wear or damage. Replace any blades that are chipped, cracked, or excessively worn to maintain optimal planing performance.
Creating a maintenance schedule to ensure blade longevity:
- Clean the planer blades after each use to remove any residue or build-up. Use a soft brush or cloth to gently wipe away debris.
- Lubricate the blades with a recommended blade lubricant or rust preventative to minimize friction and corrosion.
- Sharpen or replace dull blades as needed. Dull blades not only result in poor planing performance but can also put additional strain on the motor and other parts of the planer.
- Store the planer in a dry and controlled environment to prevent rust and corrosion. Consider using a dehumidifier in areas with high humidity levels.
- Follow the manufacturer’s guidelines for regular maintenance, such as belt tension adjustments or motor lubrication. Regularly inspect other components of the planer, such as the drive belts or pulleys, to ensure they are in good working condition.
By following these proper handling techniques, additional measures, and creating a maintenance schedule, you can significantly extend the lifespan of your planer blades. Taking a proactive approach to blade care not only saves you money in the long run but also ensures consistent planing performance and high-quality results.
Understanding The Cost-Effectiveness Of Blade Maintenance
Wood glue beads, when dried, can indeed quickly dull planer blades. Understanding the cost-effectiveness of blade maintenance is crucial to prevent this issue and maintain the sharpness of your blades. Regular maintenance and cleaning are essential to ensure optimal performance and longevity of your planer blades.
Woodworking enthusiasts and professionals often face the dilemma of whether to sharpen planer blades or replace them altogether. This decision can impact the overall cost-effectiveness of their woodworking projects. In this section, we will compare the cost of blade sharpening versus replacement and analyze the benefits of routine blade maintenance.
By understanding these factors, you can make an informed decision that saves you both time and money.
Comparing The Cost Of Blade Sharpening Versus Replacement
When it comes to maintaining planer blades, budget-conscious individuals always consider the cost implications. Let’s examine the expenses associated with both blade sharpening and replacement:
- Blade Sharpening:
- Economical option compared to replacement
- Requires investing in sharpening tools or professional services
- Ideal for blades with minor dullness or nicks
- Allows you to reuse blades multiple times, maximizing their lifespan
- Generally quick turnaround time for sharpening services
- Blade Replacement:
- Involves purchasing new blades, which can be costly
- Instantly restores optimal performance and cutting quality
- Suitable for severely damaged or excessively worn blades
- Time-consuming process of removing old blades and installing new ones
- May require adjustment of the planer for proper blade alignment
By considering these factors, you can weigh the costs of both options and choose the most cost-effective solution for your woodworking needs.
Analyzing The Benefits Of Routine Blade Maintenance
Regular maintenance of planer blades not only prolongs their lifespan but also offers several advantages in terms of performance and efficiency. Let’s explore the benefits of implementing a routine blade maintenance schedule:
- Enhanced Cutting Performance:
- Maintaining sharp blades ensures clean, smooth cuts every time.
- Minimizes tear-out and splintering on wood surfaces, resulting in higher-quality finishes.
- Increased Efficiency:
- Sharp blades require less force to achieve the desired cut, reducing strain on the planer motor.
- Reduces the risk of jams and clogs, leading to uninterrupted workflow.
- Cost Savings:
- Regular maintenance reduces the frequency of blade replacement, saving on replacement costs.
- Avoids potential damage to workpieces caused by dull or inefficient blades, reducing waste.
- Time Efficiency:
- Sharpened blades result in faster planing, allowing you to complete projects more efficiently.
- Minimizes downtime spent on blade replacements or waiting for sharpening services.
By incorporating routine blade maintenance into your woodworking routine, you can optimize the cost-effectiveness of your planer blades while improving performance and efficiency in the long run.
Remember, maintaining your planer blades is an investment that pays off not only in terms of cost savings but also in the quality of your woodworking projects. Implementing a regular maintenance routine will keep your blades sharp, efficient, and ready for any woodworking challenge that comes your way.
Frequently Asked Questions For Do Dried Beads Of Wood Glue Dull Planer Blades Quickly?
Do Dried Beads Of Wood Glue Dull Planer Blades Quickly?
Yes, dried beads of wood glue can dull planer blades quickly. The hardened glue can build up on the blade, causing friction and preventing smooth, efficient cutting. Regularly cleaning the planer blades and removing any dried glue buildup can help maintain their sharpness and extend their lifespan.
Conclusion
It is clear that dried beads of wood glue can indeed dull planer blades quickly. This is an important consideration for woodworkers and DIY enthusiasts who rely on planers for smooth and accurate results. By understanding the impact of dried glue on planer blades, users can take preventative measures to ensure the longevity and effectiveness of their tools.
Regularly cleaning blades and implementing strategies to avoid excessive glue buildup can significantly reduce the risk of blade dulling. Additionally, investing in high-quality planer blades and using specific cleaning products can further enhance blade performance. Ultimately, consistent maintenance and awareness of the potential effects of dried wood glue on planer blades are essential for achieving optimal results and extending the lifespan of these valuable tools.
- WoodRiver Plane reviews | Best Wood Hand Planer In 2024 - 19/10/2024
- The Best Tung Oil: The Ultimate Guide in 2024 - 19/10/2024
- 12 Inch Wood Planer: Smooth Your Woodworking Projects Like a Pro - 01/10/2023