To make a big tool box out of wood, you will need to gather the necessary materials and tools, measure and cut the pieces of wood, construct the box, and add finishing touches. A high-quality tool box is a must-have for anyone with a passion for diy projects or woodworking.
A well-organized toolbox is an essential for any DIY enthusiast, professional handyman or homeowner. While there are numerous options available in the market, constructing a wooden toolbox by yourself can be a gratifying project – not to mention it allows you to customize the size and compartments as per your needs. Besides providing portability for your tools, a homemade wooden toolbox also infuses a touch of personal craftsmanship into your workspace.
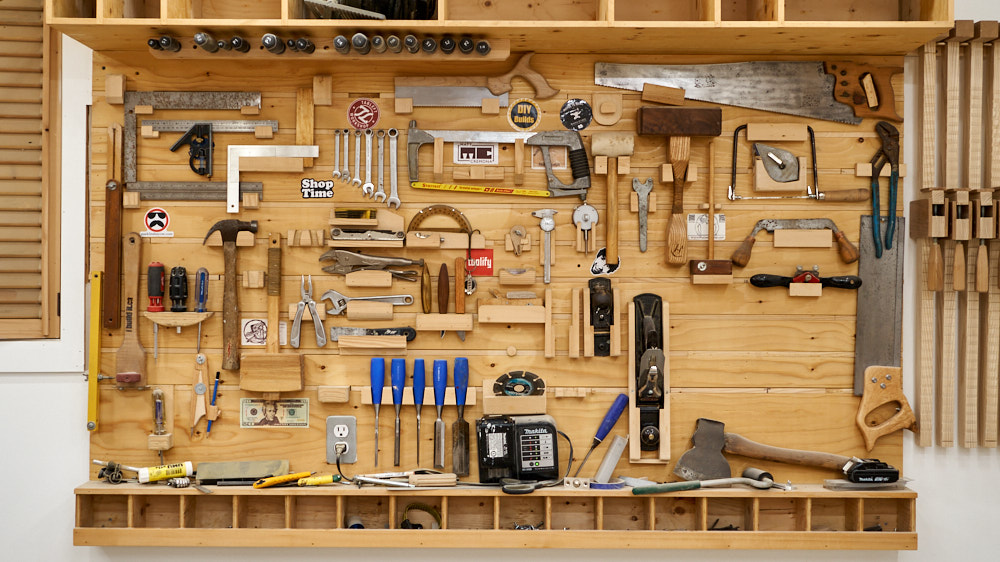
Credit: ibuildit.ca
Essential Tools And Materials Required
Table of Contents
Making a big tool box out of wood can be a fun and rewarding project. However, before beginning, there are specific tools and materials you will need. Here are the essential tools and materials required for the project:
List Down The Tools And Materials Needed For The Project
- Power drill and drill bits
- Saw (table saw or circular saw)
- Measuring tape and ruler
- Pencil and marker
- Sandpaper (medium and fine grits)
- Wood glue
- Screws (1 1/2 inch and 2 inch)
- Hammer
- Nails (3/4 inch)
- Wooden boards (preferably hardwood)
- Metal handles
- Hinges
Mention The Best Types Of Wood To Use
When building a tool box out of wood, it is important to select the right type of wood. The best types of wood to use for this project are hardwoods, including oak, maple, and birch. These types of wood are known for their durability and strength, making them ideal for a sturdy tool box.
Explain Why Each Tool Is Necessary
- Power drill and drill bits: These tools are essential for drilling holes in the wooden boards for the screws and hinges.
- Saw (table saw or circular saw): A saw is necessary to cut the wooden boards to the correct length and size for the project.
- Measuring tape and ruler: These tools are used for precise measurements to ensure accurate cuts and joints.
- Pencil and marker: Used for marking measurements and cuts on the wooden boards.
- Sandpaper (medium and fine grits): After cutting and joining the wooden boards, sandpaper is used to smoothen the surface and remove rough edges.
- Wood glue: Used to secure the wooden boards together, creating a strong joint.
- Screws (1 1/2 inch and 2 inch): These are used to connect the wooden boards together, creating a sturdy and secure tool box.
- Hammer and nails (3/4 inch): These tools are used to attach the metal handles to the tool box.
- Wooden boards (preferably hardwood): The main material needed for the project, wooden boards provide the structure and durability of the tool box.
- Metal handles: These are used to carry the tool box.
- Hinges: Used to attach the lid of the tool box to the base.
By having all of the necessary tools and materials for the project and selecting the appropriate wood, you can create a beautiful and functional tool box that will last for years.
Designing Your Toolbox
Are you excited to create your very own wooden toolbox but are not sure where to begin? Rest assured, we’ve got you covered! In this section, we’ll discuss the importance of planning before starting the project, tips for designing your toolbox plan, and the benefits of using software to design your toolbox.
Importance Of Planning Before Starting The Project
Before you start to build your wooden toolbox, it’s crucial to carefully plan out your project. Planning helps you to:
- Determine the necessary resources, such as the type and amount of wood, hardware, tools, and equipment.
- Visualize the final product and its dimensions.
- Create a comprehensive list of all the steps and the order in which the steps need to be taken.
- Stay on budget and keep track of the costs.
Tips For Designing Your Toolbox Plan
Effective planning is crucial to the overall success of your project. Here are some tips to consider while you design your toolbox plan:
- Decide on the size of the toolbox. Consider the size of your tools and how many you want to store in the toolbox.
- Determine the material you want to use and the type of joints you will need.
- Sketch your design on paper or use software to create a 3d model to help you visualize the toolbox.
- Choose a design that aligns with your skill level and the tools you have available.
- Add amendments to your plan if necessary as you go.
Using Software To Design Your Toolbox
Using software to create a 3d model of your wooden toolbox can help you to identify and resolve potential problems before you start cutting the wood. Some of the most popular software used for designing include sketchup, fusion 360, and autocad.
Using software allows you to:
- Visualize the product from all angles and explore possible configurations.
- Measure and adjust the exact dimensions of your toolbox, ensuring that you have the correct amount of materials and tools.
- Export the final design as a cad file or a pdf that can be printed and used as a guide during the construction process.
So, there you have it! With proper planning and design, you can make your very own wooden toolbox that will be useful and aesthetically pleasing.
Build Your Own Big Wooden Tool Box Like A Pro: Step-By-Step Guide
Building your own big wooden tool box can be a fun and rewarding experience. Not only will it help you organize your tools, but it can also add a touch of style to your workspace. In this step-by-step guide, we will show you how to build a big wooden tool box like a pro.
Let’s get started.
Step 1: Cutting The Wood
Before you start cutting the wood, you need to decide on the dimensions of your toolbox. Once you have that figured out, you can start cutting the wood into the following pieces:
- Two long sides
- Two short sides
- One bottom panel
- One top panel
- One handle
After you have cut all the pieces, be sure to sand them down to remove any rough edges.
Step 2: Preparing The Joints
You will need to create joints to hold the toolbox together. These joints include:
- Rabbet joint for the bottom panel
- Half-lap joint for the short side panels
- Tongue and groove joint for the long side panels
To create these joints, use a saw or a router. Be sure to measure the cuts accurately, so that the joints fit together perfectly.
Step 3: Assembling The Toolbox
Now that you have all the pieces cut and the joints prepared, it’s time to assemble the toolbox. Follow these steps:
- Start by gluing the bottom panel to the long sides.
- Once the glue has dried, add the short sides, using wood glue and clamps to hold them in place.
- Finally, glue the top panel onto the short sides.
Step 4: Finishing And Final Touches
To give your toolbox a professional look, finish it with your choice of paint or stain. You can also add some final touches, such as:
- Attaching the handle to the top panel
- Adding drawer or shelf liners
- Writing your name or initials on the toolbox
Congratulations, you have now built your own big wooden tool box! Not only is it functional, but it’s also a unique and personalized addition to your workspace.
Maintenance And Care For Your Wooden Tool Box
Your handmade wooden tool box is both functional and visually appealing. It’s a product of your hard work and attention to detail. In order to ensure that it lasts for years to come, it’s important to maintain it properly. Below are some key points to consider when taking care of your wooden tool box.
Discuss How To Maintain The Toolbox
Maintaining the wooden tool box is essential in order to preserve its durability and appeal. Here are some tips to help you keep your toolbox in great condition:
- Keep your tool box away from damp or humid environments as moisture can warp the wood.
- Avoid direct sunlight to prevent fading or discoloration of the wood.
- Consider applying a protective varnish or coating to prevent scratches and dents to the surface.
- Store tools in an organized manner which will help to prevent scratches or damage to the interior of the toolbox.
Tips For Keeping The Toolbox In Good Condition
In addition to maintenance, there are some simple practices that can help to keep your wooden toolbox in good condition. Here are some tips:
- Clean your toolbox regularly with a damp cloth to remove dust and debris.
- Avoid using harsh chemicals or solvents, which can damage the wood.
- Schedule regular inspections of the tools stored inside your toolbox to ensure they are clean and in good condition.
Best Practices For General Cleaning
Cleaning your wooden toolbox on a regular basis is an important part of maintenance. Here are some best practices for general cleaning:
- Use a soft-bristle brush or microfiber cloth to dust the tool box.
- Wipe down the exterior and interior of the toolbox using a damp cloth.
- Let the toolbox air-dry for a few minutes before storing it in a safe, dry, and secure spot.
Taking care of your wooden tool box is essential to ensure its durability and longevity. By following these simple maintenance and cleaning guidelines, you can be sure that it will remain a functional and beautiful addition to your workshop for years to come.
Frequently Asked Questions For How To Make A Big Tool Box Out Of Wood
What Tools Are Needed To Make A Wooden Toolbox?
All you need is a saw, drill, hammer, chisels, screws, and wood glue. A measuring tape, pencil, and sandpaper also come in handy.
How Do You Prepare The Wood For The Toolbox?
The wood must be cut to the desired size, sanded to remove roughness, and drilled to allow for screws and handles. Any excess wood should be trimmed or sanded away.
What Type Of Wood Is Best For A Toolbox?
Plywood is commonly used due to its stability and affordability. Hardwoods such as oak or maple can also be used, but they’re costlier and generally not as stable.
Can I Add Drawers To The Toolbox?
Yes, drawers can be added to store smaller tools and items. You’ll need to measure and cut the wood accordingly, and slides will be needed to hold the drawers in place.
How Do You Finish The Toolbox?
You can paint or stain the wood to give it a polished finish. Sand between coats, and allow each coat to dry completely before applying the next one. A clear coat of polyurethane can be added to protect the wood.
Conclusion
Making a big tool box out of wood is a great diy project for woodworking enthusiasts of all levels. With the right tools, materials, and a bit of patience, you can create a customized and practical storage solution for all of your tools.
Remember to take measurements beforehand and plan out the design to ensure a successful project. Additionally, don’t forget to sand and finish your wooden tool box to protect it from wear and tear. By following these steps, you can create a beautiful and functional tool box that will last for years to come.
Happy woodworking!