To use a brad nailer, load it with brads, connect it to an air compressor, aim it at the desired surface and pull the trigger. A brad nailer is a powerful woodworking tool that can make your work faster, easier and much more accurate.
It can be used to attach trims, moldings, panels, and other light materials to wood or other surfaces. When compared to hand nailing, brad nailer offers more precision and reduces the likelihood of damaging the materials. However, using it requires some knowledge of the tool and its operation. This article will help you understand the basic steps involved in using a brad nailer and the necessary safety precautions you need to take.
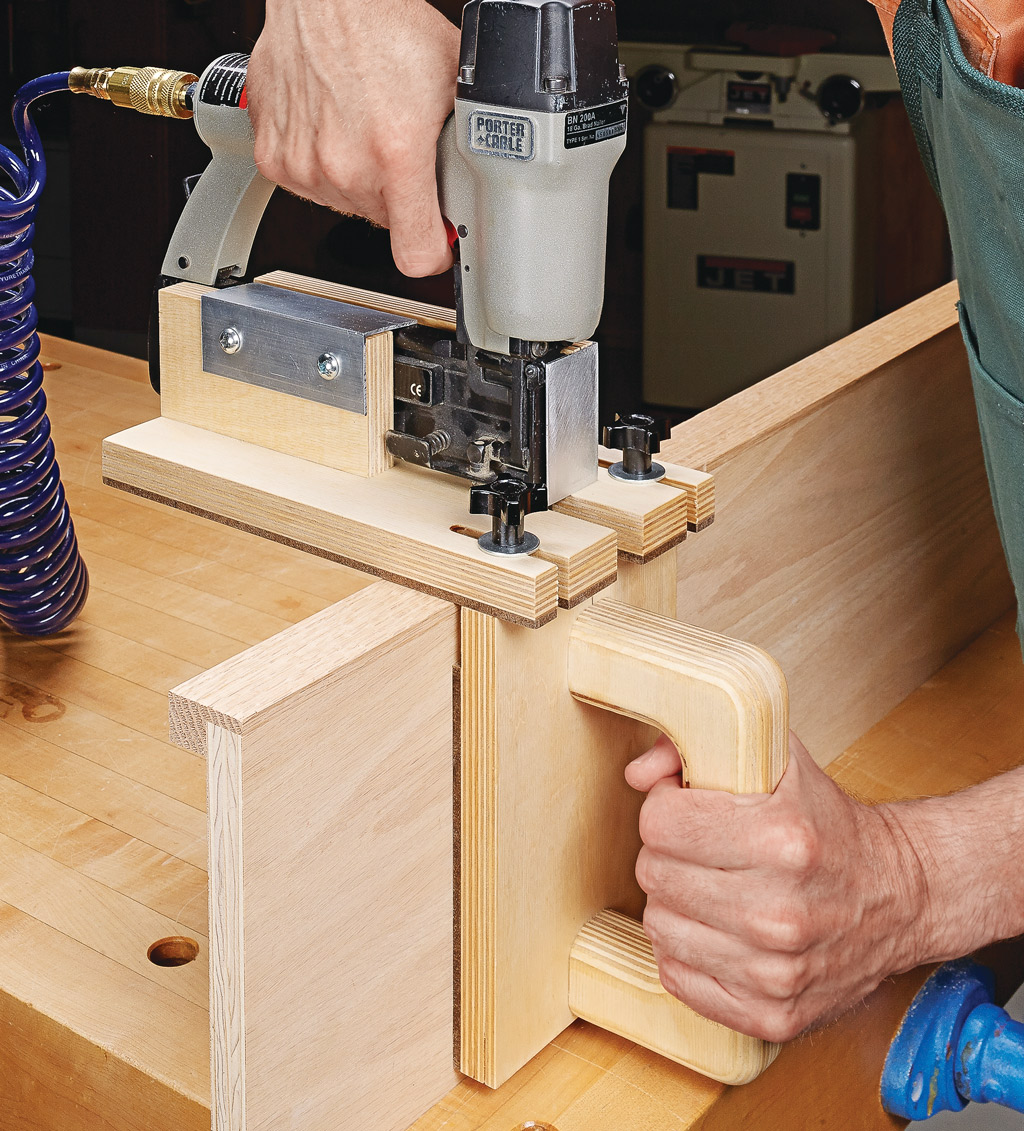
Credit: www.woodsmith.com
Safety Precautions
Table of Contents
Importance Of Wearing Safety Goggles And Earplugs
Keeping yourself safe while using a brad nailer is crucial, and wearing protection gear is an essential part of this. Some of the essential safety gear you should always wear while using a brad nailer are safety goggles and earplugs.
- Safety goggles protect your eyes from flying debris and can prevent serious eye injuries.
- Earplugs help protect your ears from the loud and potentially damaging noise levels that can occur while using the brad nailer.
Safety Tips For Handling And Using A Brad Nailer
Using a brad nailer may seem like an easy task, but it can also be dangerous if not handled correctly.
- Always read and understand the manufacturer’s instructions before using the brad nailer.
- Unplug the nailer when changing brads or performing maintenance.
- Before using the brad nailer, ensure that it is in good condition and that all the parts are functioning correctly.
- Make sure that the workpiece is secured before firing the nails.
- Keep your fingers away from the nailer’s trigger unless ready to shoot the brad nail.
- Never point the brad nailer towards anyone or any body part.
Common Mistakes To Avoid While Using A Brad Nailer
There are common mistakes associated with using a brad nailer, and being aware of these errors can help you avoid causing any accidents.
- Pressing the trigger too hard or too frequently can lead to damaging the workpiece or causing an accident.
- Failing to inspect and maintain your brad nailer regularly can lead to injuries or accidents.
- Using the incorrect size of brad nail for the job or material being used can lead to low-quality work or accidents.
- Ignoring safety measures such as wearing safety goggles and earplugs can lead to serious injuries and accidents.
Getting Started
Using a brad nailer can be a great way to simplify woodworking projects. It provides a fast, efficient, and easy solution for joinery and affixing wood pieces.
Choosing The Correct Brad Nailer Size And Gauge
The size of the brad nailer will depend on the thickness of the wood that you plan to use. Brad nailers come in different sizes, such as 15-gauge, 16-gauge, and 18-gauge.
- The thicker your wood, the higher the gauge size. For instance, a 18-gauge nailer would be a better fit for thicker wood, while a 15-gauge would be ideal for medium-thick wood.
- The longer the nail, the more security it will provide.
Understanding The Types Of Brad Nails And Their Uses
Different types of brads are available for diverse applications. Each type comes in different sizes, which can fit into the brad nailer of your choice.
- Flathead brads are ideal for projects where the nail head needs to be concealed.
- T-head brads are useful when you need to join large crown molding pieces.
- F-type brads are perfect for fixing door and window frames.
Choosing The Right Wood For Your Project
Wood selection is crucial when using a brad nailer. Different types of wood require different brad nailers and brads for attaching pieces together.
- Softwoods like pine or cedar are easy to work with, but they tend to split easily. It’s best to avoid using a brad nailer on thin or delicate wood pieces.
- Hardwoods like oak or maple require more force for the brad nailer to penetrate. Make sure you have the correct size and gauge of brads and adjust the air pressure on your nailer accordingly.
Preparing The Workspace For Using A Brad Nailer
Before you start working with a brad nailer, it is essential to prepare your workspace. This will ensure that the job is completed safely and efficiently.
- Ensure that your workspace is clean and free of any debris or dust that may interfere with your work or damage the tool.
- Make sure to wear safety glasses and ear protection when using a brad nailer.
- Ensure that your brad nailer is plugged into a grounded outlet.
By considering each of these key points and adhering to the safety guidelines, you can get started on your woodworking projects while using a brad nailer.
How to nail by an experienced carpenter./ Hidden features of the nail gun [woodworking tips]
Using The Brad Nailer
Step By Step Guide On How To Correctly Use A Brad Nailer
A brad nailer is a versatile tool that can make any diy job easier and more efficient, as long as you use it correctly.
- Make sure you have the right type of brads for your job and insert them into the brad nailer.
- Choose the correct air compressor that provides the necessary psi (pounds per square inch) to operate the brad nailer.
- Hold the brad nailer securely with both hands and aim it at the surface you want to nail.
- Press the nose of the brad nailer towards the surface while keeping your fingers away from the trigger.
- When the nose of the brad nailer is touching the surface, pull the trigger to release the brad into the surface.
- Repeat the process until you have completed your project.
Tips And Tricks For Efficiently Using The Brad Nailer
To make your work even more efficient, here are some tips and tricks to improve your brad nailing technique:
- Always keep your brad nailer clean and oiled for optimal performance.
- Use safety goggles and ear protection to prevent accidents and damage to your hearing.
- Practice on scrap wood first to ensure you have the right depth and angle settings.
- Avoid using the brad nailer on hardwoods or thick planks without first pre-drilling pilot holes.
- Take breaks regularly to avoid fatigue and make sure you stay focused on the task at hand.
How To Adjust The Depth And Angle Of The Nails
One of the most important features of a brad nailer is the ability to adjust the depth and angle of the nails.
- To adjust the nail’s depth, turn the nailer’s depth adjustment wheel. This will allow you to control how deep the nail goes into the surface.
- To change the angle of the nail, use the nailer’s angle adjustment feature. This will allow you to choose between different angles of the nail, whether it’s straight or at an angle.
Proper Maintenance And Cleaning Of The Brad Nailer
Maintaining and cleaning your brad nailer is crucial to prolonging its lifespan and avoiding any mishaps during use.
- Regularly clean your brad nailer with a cloth and compressed air to remove any excessive debris.
- Lubricate your brad nailer with oil to avoid corrosion and enhance its performance.
- Store your brad nailer in a dry place when not in use to prevent rust or decay.
- Perform regular safety checks on your brad nailer before use, such as checking the hose, trigger, and air pressure.
Troubleshooting
Brad nailers are essential tools for diy enthusiasts and professional carpenters alike – they are perfect for attaching small and delicate pieces of molding, trim, or panels to wood. However, like most tools, they can sometimes be problematic and require troubleshooting.
- Brad nails are not driven fully: one of the most common issues with brad nailers is that the brad nail does not fully penetrate the wood. This can be due to several reasons – either a worn out driver blade, incorrect air pressure, or an incorrect nail size.
- Brad nails get jammed: another common issue is a nail jam, which happens when one of the nails gets stuck in the magazine or the gun due to a dirty or damaged magazine, or the misuse of incorrect nail sizes.
- Air leakage: air leakage is also a common problem in brad nailers, and this can be due to an air hose connection issue, an issue with the o-rings inside the tool, or debris in the exhaust vents.
(How To Troubleshoot And Solve The Problems)
Here are some tips on how to troubleshoot and solve the most common brad nailer issues:
- Brad nails are not driven fully: ensure that the air pressure is set correctly, use the appropriate nail size, and ensure that the driver blade is not worn out.
- Brad nails get jammed: clear jams immediately, clean the magazine, and use the correct nail size.
- Air leakage: check the air hose connections for leaks, perform regular maintenance on the tool’s o-rings, or clean out any debris in the exhaust vents.
(Tips On How To Avoid These Issues In The Future)
Listed below are some tips to help prevent brad nailer problems in the future:
- Use the right nail sizes.
- Clean the tool regularly.
- Lubricate the tool as directed in the manual.
- Make sure the air compressor is the right size for the tool.
- Always use correct air pressure.
While brad nailers are indispensable tools for various woodworking projects, like most tools, they can sometimes be problematic. By understanding the most common issues, knowing how to troubleshoot and solve problems, and following the tips to prevent future problems, your brad nailer can be a reliable and long-lasting tool, and you can work with confidence.
Frequently Asked Questions On How To Use A Brad Nailer
What Is A Brad Nailer Used For?
A brad nailer is a tool used to attach thin, delicate pieces of wood or trim to a surface without splitting or damaging the material.
How Do I Load Brads Into A Brad Nailer?
To load brads into a brad nailer, first, ensure the tool is disconnected from the air supply. Then, slide open the magazine and place the brads in the correct orientation.
What Type Of Brads Should I Use With A Brad Nailer?
It’s important to use the correct size and gauge of brads for your project. Check the brad nailer’s manual for specific recommendations.
Can A Brad Nailer Be Used For Other Types Of Projects?
While a brad nailer is primarily used for woodworking projects, it can also be used for furniture repair, flooring installation, and other diy projects.
Conclusion
Using a brad nailer can be a convenient and efficient way to complete your woodworking projects. With the right technique and safety tips in mind, you can easily achieve professional-looking results. Always remember to properly load your brad nailer with the right size of brads and keep your fingers clear of the nailer’s firing area.
Using the correct air pressure and adjusting the depth settings can make a big difference in the outcome of your project. Regular maintenance and cleaning of your brad nailer will ensure its longevity. As you gain more experience in using a brad nailer, you’ll find that it’s an essential tool in your arsenal.
With practice, patience, and attention to detail, your woodworking projects will turn out beautifully. So, enjoy the process and let your creativity soar!