A hand wood planer is a tool that is used to create a smooth, level surface on a piece of wood. The first step is to select the right size of planer for the job. Next, the woodworker needs to determine which direction they will be feed the wood into the planer.
The third step is to adjust the blade depth and set the fence. Finally, the wood can be fed into the planer and moved across the surface until it is smooth.
- Read the manufacturer’s instructions for your hand wood planer before using it
- To use the hand wood planer, hold it in your dominant hand with the blade facing down
- Place your other hand on top of the tool to help guide it along the wood surface
- Start by running the blade along the edge of the wood you want to plane
- Apply gentle pressure as you move the tool forward
- As you get more comfortable using the hand wood planer, you can increase the amount of pressure you apply
- Move the tool back and forth across the surface of the wood until you have achieved your desired results
- If necessary, adjust your grip on the tool or change hands to avoid fatigue
- When you’re finished using the hand wood planer, clean off any debris from its blades and stored it safely away until next time
How to Use a Hand Plane | Ask This Old House
Table of Contents
How Do You Use a Handheld Planer?
When you are using a handheld planer, it is important to hold the tool firmly in both hands and keep your fingers away from the blades. To start, set the planer on the workpiece with the blade guard retracted and engage the trigger lock. Next, slowly lower the blade into contact with the surface of the workpiece.
Apply pressure evenly as you move the planer forward. The depth of cut is controlled by an adjustment knob on top of the tool. As you move the planer forward, shavings will accumulate in front of the blade.
When these shavings become too thick, they can cause damage to your workpiece or kickback from the tool. To clear them, simply disengage the trigger lock and raise the blade guard. Then use a brush or your hand to remove any excess shavings before continuing.
How Do Beginners Use Planers?
A planer is a great tool for any woodworker, beginner or experienced. There are many ways to use a planer, but here are four tips for beginners:1. Read the manual before using the planer.
This will help you understand how the tool works and what safety precautions to take.2. Choose the right blade for your project. Planers come with different types of blades, so make sure you select one that is appropriate for the material you’re working with.
3. Set the depth of cut correctly. The depth of cut determines how much material will be removed with each pass of the blade. Start with a shallow depth and increase it gradually until you achieve the desired result.
4. Take your time and focus on keeping the workpiece level as it passes through the planer. If it’s not level, you’ll end up with an uneven surface.
Is It Worth Getting a Hand Planer?
A hand planer is a tool used to smooth and level wood surfaces by hand. The main difference between a hand planer and other types of planes is that the blade of a hand planer is set at a fixed depth, while the blades of other planes can be adjusted to different depths.There are several advantages to using a hand planer.
First, it is much less expensive than power tools such as electric or pneumatic planers. Second, it is much quieter than these power tools, which can be important if you are working in an area where noise would be disruptive. Third, a hand planer gives you more control over the depth of cut and the direction of the grain, which can be important when working with delicate or irregular surfaces.
Finally, many people find that they prefer the feel of working with a hand tool rather than a power tool.The disadvantages of using a hand plane are that it takes more time and effort to use one than an electric or pneumatic plane; and that it can be difficult to keep the blade at the correct depth when working with hardwoods or irregular surfaces. However, for many people these disadvantages are outweighed by the advantages listed above.
How Do You Flatten a Board With a Hand Planer?
Assuming you’re talking about a wood board, the most common way to flatten it with a hand planer is to use a technique called “scrubbing.”First, you’ll need to chisel out any large knots or uneven areas. Next, start with the planer set at its deepest cut and work across the grain of the wood.
Make several passes until you’ve achieved a flat surface. Finally, smooth out the surface by working with the grain.
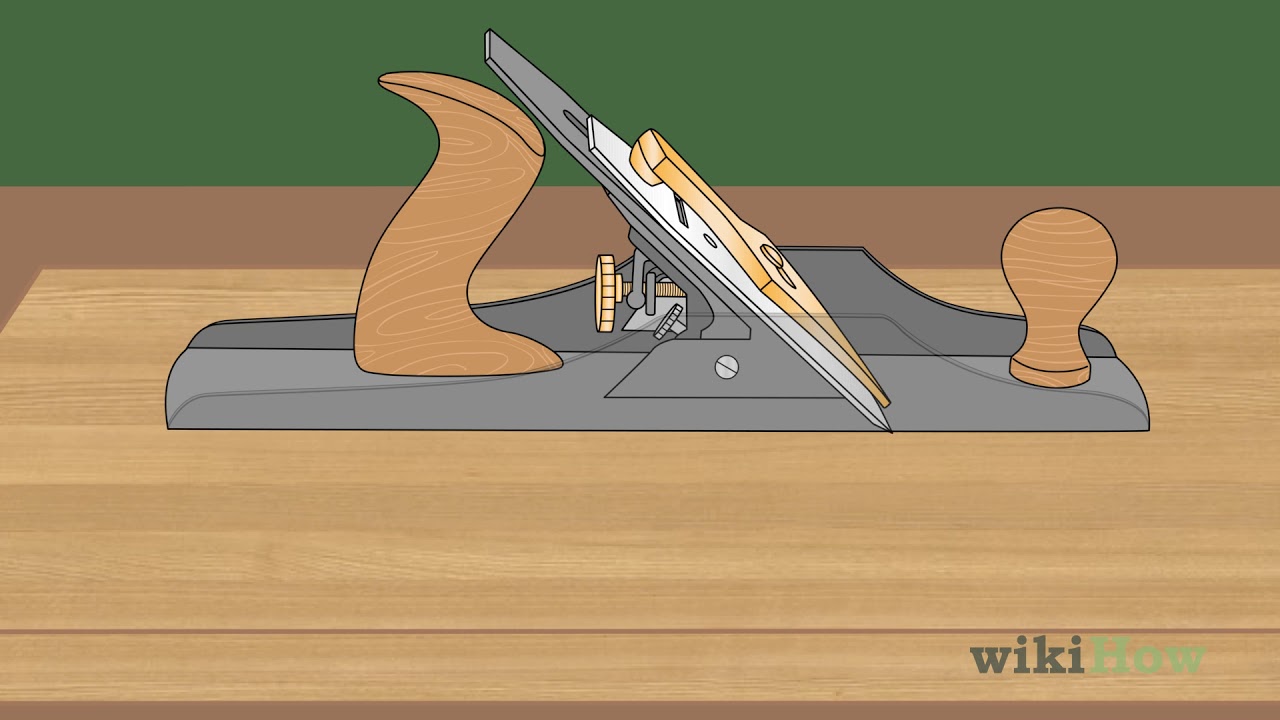
Credit: www.wikihow.com
How to Use an Electric Hand Planer
An electric hand planer is a great tool for quickly removing wood from a surface. Here are some tips on how to use an electric hand planer:-Start by choosing the right blade for your material.
If you’re working with hardwood, you’ll need a carbide-tipped blade. For softer woods, a high-speed steel blade will do the trick.-Install the blade in the planer according to the manufacturer’s instructions.
Be sure to tighten it securely so that it doesn’t come loose during use.-Set the depth of cut according to your needs. A deeper cut will remove more wood, but it can also create more tearout on the surface of your workpiece.
Start with a shallow depth of cut and increase it as needed.-To avoid tearout, always plane with the grain of the wood rather than against it.With these tips in mind, you’ll be able to use an electric hand planer quickly and easily!
How to Use a Wood Planer
A wood planer is a handy tool that can be used to create smooth, uniform surfaces on wood. Here’s how to use one:1. Start by setting the depth of cut for your planer.
This will determine how much material you’ll remove with each pass.2. Next, adjust the fence so that it’s parallel to the blade. This will ensure a consistent cut across the entire surface of your workpiece.
3. To begin, feed the workpiece into the planer, making sure to keep it flush against the fence. As you do so, keep an eye on the thickness gauge to ensure that you’re removing the desired amount of material.4. Once you’ve reached the end of your workpiece, slowly reverse it and feed it back through the machine in order to even out any irregularities.
With these tips in mind, operating a wood planer is easy! Just take your time and make sure everything is set up correctly before starting, and you’ll produce beautiful results in no time flat!
Electric Hand Wood Planer
Assuming you would like a blog post discussing an electric hand wood planer:An electric hand wood planer is a tool that is used to smooth out rough or uneven surfaces on pieces of wood. It can also be used to create rabbets, dadoes, and other types of joints.
This tool is powered by electricity and has a small blade that rotates at high speeds.The first thing you need to do when using an electric hand wood planer is to determine which direction the grain of the wood is running. You will then want to adjust the depth of cut based on how much material you need to remove.
Once you have made these adjustments, you can begin moving the tool across the surface of the wood.It is important to keep the Planer moving in order to avoid damaging the Wood or leaving behind deep gouges. As you move it across the surface, you will see shavings being produced.
These shavings can be collected in a bag or bucket for easy disposal later on.Once you have gone over the entire surface with your Planer, you can then use a sanding block or paper to smooth out any remaining roughness. And that’s it!
You’ve now successfully used an electric hand wood planer and created a smooth, even surface.
Conclusion
If you’re looking for a way to get smoother, more accurate woodworking results, then using a hand wood planer is a great option. Here’s a step-by-step guide on how to use one:1. Start by clamping the workpiece firmly in place.
This will help to prevent it from moving around while you’re working.2. Next, adjust the blade of the planer so that it’s slightly above the surface of the wood.3. With the blade in position, start the motor and slowly lower the planer down onto the wood surface.
Keep the pressure even as you move it forward.4. As you reach the end of each stroke, lift up the planer and reset it for another pass.