Using a brad nailer is simple and easy. First, make sure that the power switch is in the off position. Then, load your nails into the magazine.
Next, adjust the depth control to ensure that your nails are being driven to the correct depth. Finally, turn on the power switch and squeeze the trigger to start nailing!
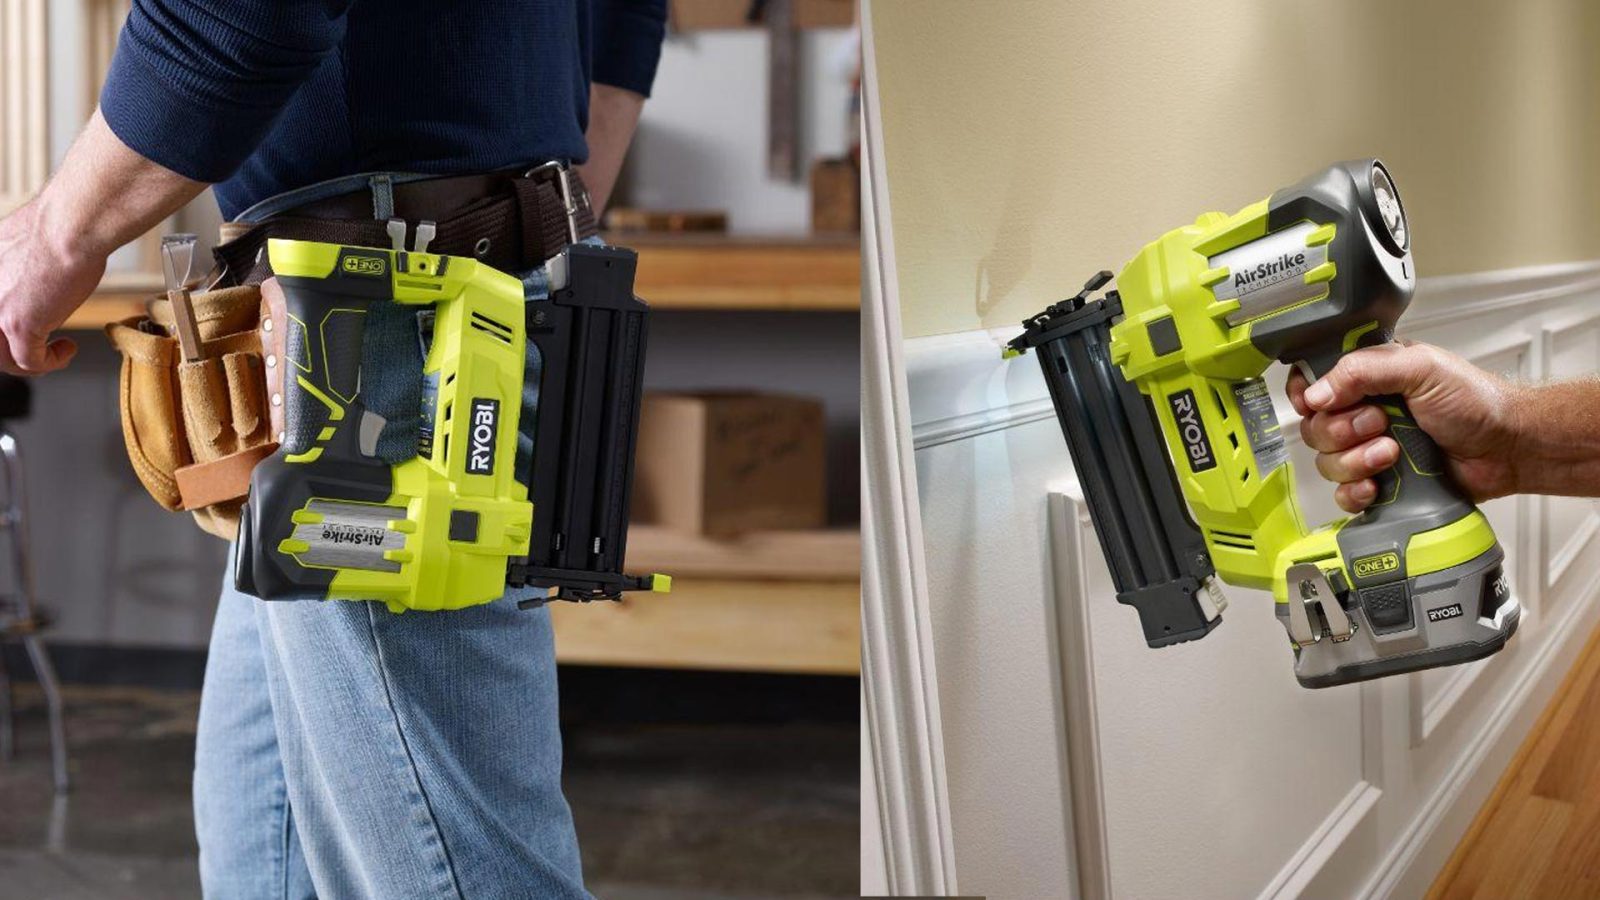
- Read the manufacturer’s instructions for your specific brad nailer model before using the tool
- Connect the air compressor to the brad nailer according to the manufacturer’s instructions
- Load brads into the magazine of the brad nailer
- Make sure that the nails are facing in the correct direction for proper loading
- Place the tip of the brad nailer against the surface that you want to fasten and squeeze the trigger to drive a brad into place
- Repeat this process as needed until your project is complete
How To Use A Pneumatic Brad Nailer
Table of Contents
What is a Brad Nailer And What are Its Benefits
A brad nailer is a type of pneumatic nail gun that uses small, 18-gauge nails. Brad nailers are ideal for light trim work and other delicate woodworking applications where finish nails would be too large or leave too big of a hole.The main benefit of using a brad nailer is the smaller size of the nails.
This results in much smaller holes in the wood, which can be filled easily and won’t be as noticeable as larger finish nails.Another advantage of brad nailers is that they are less likely to split the wood. The smaller size of the nails reduces the risk of splitting delicate moldings or trim pieces.
Brad nailers can also be used for upholstery work. The small size of the nails makes them perfect for attaching fabric to wood frames without damage.Overall, a brad nailer is a versatile and handy tool to have for any woodworker or DIYer.
If you need to do any light trim work or upholstery projects, this tool will make your life much easier!
How Do I Use a Brad Nailer Properly
If you’re wondering how to use a brad nailer, you’ve come to the right place. In this blog post, we’ll go over everything you need to know about using a brad nailer, from choosing the right nailer for your project to loading and firing nails. By the end of this post, you’ll be a pro at using a brad nailer!
Choosing the Right Brad NailerThere are two main types of brad nailers: pneumatic and electric. Pneumatic brad nailers are powered by compressed air, while electric ones are powered by batteries or an AC adapter.
Both types of brad nailers have their own set of pros and cons. For example, pneumatic brad nailers tend to be more powerful than electric ones, but they also require an air compressor (which can be expensive). Electric brad nailers are more portable since they don’t require an air compressor, but they may not have as much power as a pneumatic model.
Once you’ve decided on which type of brad nailer is best for your needs, it’s time to choose the size and style of nails that you’ll be using. Brad nails come in different lengths (from 1/2 inch to 2 inches) and gauges (from 18 gauge to 23 gauge). The length of the nails will depend on the thickness of the material you’re nailing into; thicker materials will require longer nails.
As for gauge, thinner gauges are better for delicate projects (like trim work), while thicker gauges are better for tougher projects (like nailing into concrete).Loading Your Brad NailerNow that you’ve chosen the right type and size of nails for your project, it’s time to load them into your brad nailer.
Start by opening up the magazine (this is where the nails are stored). Depending on your model of brad nailed, there will either be a side-loading or bottom-loading magazine. Once the magazine is open, carefully place your nails inside making sure that they’re all pointing in the same direction.
Once all of the nails are loaded into the magazine, close it up and make sure that it’s locked in place.
What Types of Nails Should I Use With My Brad Nailer
There are a few things to consider when choosing nails for your brad nailer. The most important factor is the size of the nail. Most brad nailers will use 18 gauge nails, but there are also 15 and 16 gauge models available.
The next thing to consider is the length of the nails. You’ll want to choose a length that is appropriate for the material you’re working with. For example, if you’re nailing into softwood, you’ll want shorter nails so they don’t split the wood.
If you’re nailing into hardwood or plywood, you can use longer nails. Finally, you’ll need to decide on the type of finish you want for your nails. Brad nails are available in both galvanized and stainless steel finishes.
Galvanized nails have a coating that helps protect them from rust and corrosion, while stainless steel nails have a more polished look.
How Can I Ensure That My Brad Nails are Properly Seated in the Wood
When nailing into wood, it is important to ensure that your nails are properly seated in the wood. This can be done by using a hammer and lightly tapping the head of the nail until it is flush with the surface of the wood. You can also use a nail set to ensure that your nails are properly seated.
Why is It Important to Follow the Manufacturer’S Instructions When Using a Brad Nailer
When using a brad nailer, it is important to follow the manufacturer’s instructions for several reasons. First, doing so will help ensure that you are using the tool correctly and safely. Second, following the manufacturer’s instructions can help extend the life of your brad nailer by preventing damage to the tool.
Finally, by following the manufacturer’s directions, you can be sure that you are getting the best possible results when using your brad nailer.
Credit: themostspruce.com
Conclusion
This blog post covers the basics of how to use a brad nailer. It discusses safety concerns, explains what supplies you will need, and provides step-by-step instructions for using the tool. The post also offers some tips for troubleshooting common problems.