If the table saw is unplugged, remove the blade guard. Use an Allen wrench to loosen the arbor bolt and washer that secure the blade to the arbor. Remove the old blade and then reverse these steps to install a new one.
Make sure that the teeth of the new blade are pointing in the correct direction before tightening everything back up.
- Unplug the table saw from its power source and make sure that the blade is completely stopped before beginning any work
- Use a hex wrench to loosen the bolt that secures the blade in place
- With the bolt loosened, you should be able to lift the old blade off of the arbor shaft
- Carefully inspect your new blade to ensure that it is compatible with your table saw model and that it is properly installed on the arbor shaft
- Use a hex wrench to tighten the bolt securing the new blade in place
- Make sure that the blade is tight enough so that it will not come loose during use, but do not overtighten as this can damage both the blade and the arbor shaft
- Reconnect your table saw to its power source and test out the new blade by making a few practice cuts on some scrap wood before using it on your project piece
Ryobi Table Saw Blade Change Tool
Table of Contents
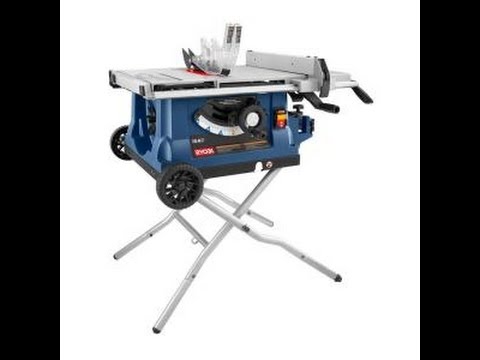
There are a lot of table saws on the market, but if you’re looking for a good one that’s easy to use, then the Ryobi Table Saw is a great option. It comes with a blade change tool that makes it quick and easy to change out the blades, and it has a built-in dust port so you can keep your work area clean. The Ryobi Table Saw is also affordably priced, making it a great option for budget-minded shoppers.
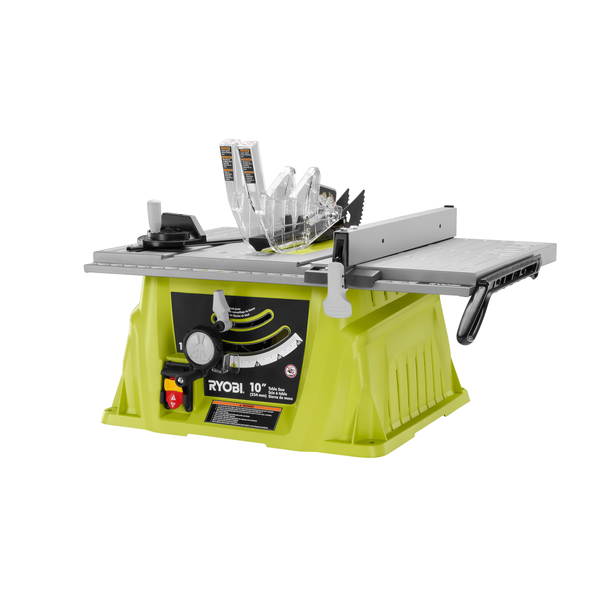
Credit: ryobitools.com
How Do You Put a Blade on a Ryobi 10 Table Saw?
If you’re looking to put a blade on your Ryobi 10 table saw, there are a few things you’ll need to do first. First, make sure that the power is off and the blade is not spinning. Next, use the clamping lever to loosen the blade so that it can be removed.
After the old blade is removed, line up the new one with the teeth facing downwards. Once it’s in place, use the clamping lever to tighten it back up. Be sure to double check that everything is secure before turning on your saw again.
How Do You Remove the Blade Guard on a Ryobi Table Saw?
Assuming you are referring to the Ryobi 10 inch Table Saw, model number RTS21G, the blade guard is removed by first removing the throat plate. The throat plate is held in place by four screws, two on each side. Once the screws are removed, the throat plate can be lifted off of the saw.
With the throat plate removed, you will see four more screws holding the blade guard in place. Two of these screws are located at the front of the guard and two are located at the back. Remove all four screws and lift the blade guard off of the saw.
How Do I Change the Blade on My Table Saw?
If you’re like most people, you probably don’t think about changing the blade on your table saw very often. But if you’ve never done it before, it can be a bit daunting. Here’s a step-by-step guide to help you change the blade on your table saw.
1. Unplug the saw and make sure that it is turned off.
2. Remove the throat plate by loosening the screws that hold it in place.
3. Use a wrench to loosen the arbor nut that holds the blade in place. Be careful not to drop the nut; it can be difficult to find if it falls into a crack or crevice.
4. Carefully remove the old blade and discard it safely. Some blades may be sharp even when they are not attached to the saw; use caution when handling them.
5. Inspect the arbor for any damage and clean out any debris that may have accumulated over time. If there is significant damage, consider replacing the arbor rather than just the blade. However, this is generally not necessary unless there has been a major accident or other issue with the saw itself . If everything looks good, proceed to step six .
6 . Choose the new blade based on the type of material you will be cutting most often with the saw .
There are many different types of blades available , so consult with a professional or do some research online before making your purchase . 7 .
How Do You Take Apart a Ryobi Table Saw?
Assuming you would like a step-by-step guide on how to take apart a Ryobi table saw:
1. Begin by unplugging the saw from any power source.
2. Next, remove the blade guard by unscrewing the two screws that hold it in place.
3. With the blade guard removed, you should now be able to see the carbide tipped blade. Carefully remove the blade by loosening the arbor nut with a wrench (be sure to wear gloves while doing this).
4. The next step is to remove the throat plate, which covers the opening through which the blade passes. To do this, simply unscrew the four screws that hold it in place.
5a. At this point, you can either proceed to taking off the entire table top (steps 5b-7), or if you need access to just the motor/arbor housing for maintenance/repair, then skip ahead to steps 8-9.
5b. To remove the table top, first start by removing all of the knobs and handles (if present). Then, locate and remove all of the bolts that secure the tabletop to the stand; these are typically located around the perimeter of the table top surface (underneath any stickers or labels that may be present).
With all of The bolts removed, carefully lift off table top and set aside until needed again later on during reassembly process
6. Now that The stand is empty, begin disassembling it by first removing The two leveling legs and setting them aside until needed again later on during reassembly process (typically there are 4 bolts – 2 per leg – holding each leg onto The stand) .Once The leveling legs have been removed successfully ,you should now be able to see The main columnar support beam running vertically up inside of The stand(attached at base via large metal plate w/ numerous small holes drilled into it surface) –proceed to next step .
7 . In order To detach The columnar support beam from its attachment point at The base of The stand ,first remove all Of The large washers surrounding The central bolt , as well as The actual central bolt itself .With those pieces now detached ,carefully pull outwards on columnar support beam until it becomes completely dislodged from inside of stand –set aside until needed again later on during reassembly process .
How to Replace a Ryobi Table Saw Blade
Conclusion
If you’ve ever worked with a Ryobi table saw, then you know how important it is to keep the blade sharp. Over time, the blade will become dull and will need to be replaced. Fortunately, changing the blade on a Ryobi table saw is a relatively easy process.
In this blog post, we’ll walk you through the steps of how to change the blade on a Ryobi table saw.
First, you’ll need to remove the old blade from the saw. To do this, loosen the tension knob and slide the old blade out of place.
Next, take your new blade and insert it into place. Make sure that the teeth are pointing in the correct direction before tightening down the tension knob.
