To plane wood with an electric hand planer, you will need to first make sure that the planer is properly powered and turned on. Next, slowly guide the planer along the surface of the wood, keeping a consistent pressure and speed. Be careful not to apply too much pressure, as this can damage the wood or cause the planer to slip.
- Start by ensuring that the wood you want to plane is properly secured
- You don’t want it moving around while you’re working on it
- Next, select the right blade for the job
- If you’re not sure, consult your planer’s manual or ask an expert
- Once the blade is in place, turn on your planer and slowly lower it onto the surface of the wood
- Apply even pressure as you move the planer back and forth across the wood
- Be careful not to apply too much pressure, as this can damage the wood or cause the blade to break
- When you’re finished, turn off the planer and remove any remaining debris from the surface of the wood before proceeding with your project
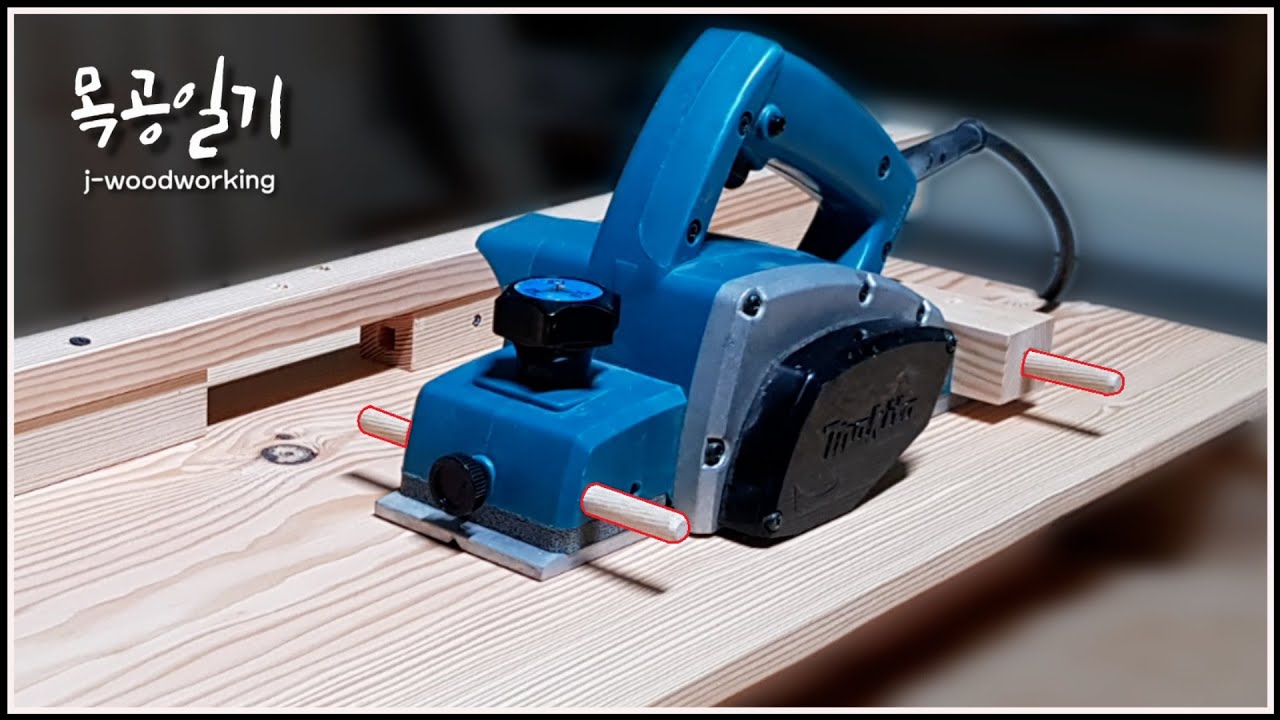
planing wide boards perfectly with electric hand planer / amazing way of planing [woodworking]
Table of Contents
How Do You Plane Wood With an Electric Hand Planer?
An electric hand planer is a great tool for quickly and easily removing wood from a piece of lumber. Here’s how to use one:
1. Set the depth of the blade on the planer.
You’ll want to set it so that it only removes a small amount of wood with each pass.
2. Place the piece of lumber on a work surface. Position the planer so that the blade is just above the surface of the wood.
3. Turn on the planer and slowly lower it onto the wood, letting the blade do its work. Move it back and forth until you’ve covered the entire surface area that you want to remove wood from.
4. When you’re finished, turn off the planer and unplug it from its power source.
How Well Do Electric Hand Planers Work?
An electric hand planer can be a great tool for quickly removing small amounts of wood from a project. However, there are some things to keep in mind when using one.
The first is that electric hand planers are not as powerful as their larger counterparts, the table-mounted or floor-standing models.
This means that they will not remove as much material with each pass and may require more passes to achieve the desired results.
Another thing to keep in mind is that electric hand planers tend to leave a rougher surface than other types of planers. This is because they operate at a higher speed and do not have the weight or heft to really smooth out the wood fibers.
If you need a completely smooth surface, you may want to consider using another type of planer or sanding by hand after using the electric hand planer.
Overall, an electric hand planer can be a great tool for quickly removing small amounts of wood from a project. Just be aware of its limitations and take care to produce a quality finish.
What Can You Do With an Electric Hand Planer?
An electric hand planer is a tool that can be used to create smooth, level surfaces on wood. It can also be used to remove excess material from a workpiece, such as when creating dovetail joints. Hand planers are powered by either electricity or batteries, and they come in a variety of sizes and styles.
The most common type of electric hand planer is the handheld variety, which is small enough to be operated with one hand. There are also larger benchtop models that require two hands to operate.
No matter what size or style of electric hand planer you choose, the basic operation is the same.
The blade of the tool cuts into the wood as it is moved across the surface. The depth of the cut can be adjusted by changing the position of the blade relative to the body of the tool. Electric hand planers typically have adjustable speed settings as well, so that you can choose how fast or slow you want the blade to spin.
There are many different uses for an electric hand planer. As mentioned above, they can be used to create smooth, level surfaces on wood. This makes them ideal for tasks such as sanding down rough edges or preparing a workpiece for painting or staining.
Electric hand planers can also be used to create decorative effects such as grooves or channels in woodworking projects.
Another common use for an electric hand planer is trimming door and window frames prior to installation. This ensures that everything will fit snugly in place and that there won’t be any gaps around the edges.
Finally, electric hand planers can also be used for shaping and sculpting wood; this is often done by carpenters who are creating custom pieces or furniture makers who are working with ornate designs.
How Do Beginners Use Planers?
If you’re new to woodworking, a planer can be a great addition to your shop. Here’s a quick overview of how to use one.
Most planers have both an infeed and outfeed table.
The infeed table is where you feed the stock into the machine. The outfeed table supports the stock as it comes out of the planer.
To start, set the depth of cut on the planer.
This is typically done with a knob or lever on the side of the machine. Then, adjust the fence so that it’s square to the blade.
Now you’re ready to start feeding stock into the planer.
Start with a light pass; you can always take more off later if needed. Feed the stock evenly and at a moderate speed so that it doesn’t get bogged down in the machine. As it comes out of the other end, keep an eye on it to make sure it’s being cut evenly across its width.
Once you’ve made one pass, check your workpiece against a straight edge to see how level it is now. If there are still high spots, make another pass or two until they’re all gone. And that’s all there is to using a planer!

Credit: www.amazon.com
Electric Hand Planer Tricks
If you’re like most woodworkers, you probably have a love/hate relationship with your electric hand planer. On one hand, it’s a great tool that can quickly remove wood and smooth out rough edges. On the other hand, it can be a real pain to use, especially if you don’t know some of the tricks of the trade.
Here are a few electric hand planer tricks that will make your life (and your woodworking projects) a whole lot easier:
1. Use a sacrificial piece of wood when planing doorways or other tight spaces. This will help prevent damage to the surrounding area and make for an easier job overall.
2. When making rabbets or dadoes with your electric hand planer, use multiple passes to slowly work your way down to the desired depth. This will help prevent tear-out and give you a cleaner final product.
3. Use a sharpening stone or file to keep the blades on your electric hand planer in good condition.
This will help ensure smooth cuts and prolong the life of your tool.
4. When using your electric hand planer on curved surfaces, take shallow cuts and go slowly to avoid damaging the material. Planing curves takes patience and practice, but following these tips will help you get better results.
How to Use an Electric Planer to Trim a Door
An electric planer is a power tool that can be used to quickly and easily remove wood from a door or other surface. Here are some tips on how to use an electric planer to trim a door:
1. Begin by removing any hardware from the door, such as hinges, knobs, or locks.
This will make it easier to work with the door and avoid damaging the hardware.
2. Place the door on a firm surface such as a workbench or table. Make sure that the surface is level so that the door does not wobble while you are working on it.
3. Use clamps to secure the door in place if necessary. This will help to keep it steady while you are working.
4. Choose the appropriate bit for your planer depending on the thickness of the door and the amount of material you need to remove.
A thicker bit will remove more material but may also cause more damage to the door’s surface. Thinner bits are less likely to damage the surface but will take longer to remove enough material. Test out different bits on scrap wood before using them on your actual project so that you can find one that works well for you.
5 . Set your electric planer to the correct depth and speed settings before beginning work on trimming your door . Be sure not to go too deep , as this could damage both your machine and your project piece .
Slowly guide the planer along the edge of your door , following any existing lines or patterns . If you need to make straight cuts , use a ruler or measuring tape as a guide .
Best Electric Hand Planer
When it comes to electric hand planers, there are a lot of different options on the market. So, how do you know which one is the best for you? In this blog post, we’re going to take a look at some of the factors you should consider when purchasing an electric hand planer, as well as some of our top picks.
First and foremost, you need to think about the size of the job you’ll be using your electric hand planer for. If you only need it for smaller jobs around the house, then a less powerful model will suffice. However, if you’re looking to use it for larger projects or even professional work, then you’ll need to invest in a more powerful model.
Another thing to keep in mind is the type of blades that come with your electric hand planer. There are two main types: standard and carbide-tipped. Standard blades are made from high-speed steel and are great for general purpose use.
Carbide-tipped blades, on the other hand, are designed specifically for cutting hardwoods and are much more durable.
Finally, you also need to think about how easy the electric hand planer is to use. Some models can be quite heavy and difficult to maneuver, while others are much lighter and easier to control.
It really depends on your personal preference here.
Conclusion
Assuming you would like a summary of the blog post titled “How to Plane Wood With an Electric Hand Planer”:
The first step is to gather all of the materials that will be needed including the electric hand planer, wood screws, drill, clamps, and saw horses. The next step is to set up the work area by clamping the piece of wood onto the saw horses.
Once the wood is secured, it is time to start planing.
The blog post goes on to explain how to hold the electric hand planer and what type of strokes to use in order to get a smooth surface on the wood. It is important not to apply too much pressure when using the tool and to make sure that both sides are being worked on evenly.
After a few passes with the electric hand planer, it will be necessary to go over the surface with sandpaper in order to remove any remaining roughness.
