Paslode finish nailers are one of the most versatile tools on the market. They can be used for a variety of applications, from trim work to cabinetry. Here are some tips on how to use a Paslode finish nailer:
1. Choose the right nails for your project. Paslode offers several different types of nails, each designed for specific applications. For example, there are brad nails for delicate work and finishing nails for heavier duty projects.
2. Load your nailer with the appropriate size and type of nail. Make sure that the magazine is properly aligned with the chamber before loading nails.
3. Connect your air compressor to your nailer using an air hose.
Be sure that there is no leaks in either the hose or the connection between the two devices.
4. Adjust the depth setting on your nailer according to the thickness of your material. This will ensure that your nails are driven in at the correct depth, which will prevent damage to your workpiece.
5 . Position your workpiece so that you can drive a nail into it at a 45-degree angle . This will provide more holding power than if you drove the nail in straight .
Squeeze trigger lightly to start driving in a test nail . If everything feels good , continue nailing around perimeter of piece .
- Read the instruction manual that comes with the Paslode finish nailer
- Connect the air compressor to the finish nailer using the air hose
- Plug in the air compressor and turn it on
- Adjust the pressure on the air compressor according to the instruction manual
- Load nails into the magazine of the finish nailer
- Place your workpiece against a wall or other surface to keep it steady while you work
- Position the tip of the finish nailer against your workpiece and squeeze trigger to drive a nail into your workpiece
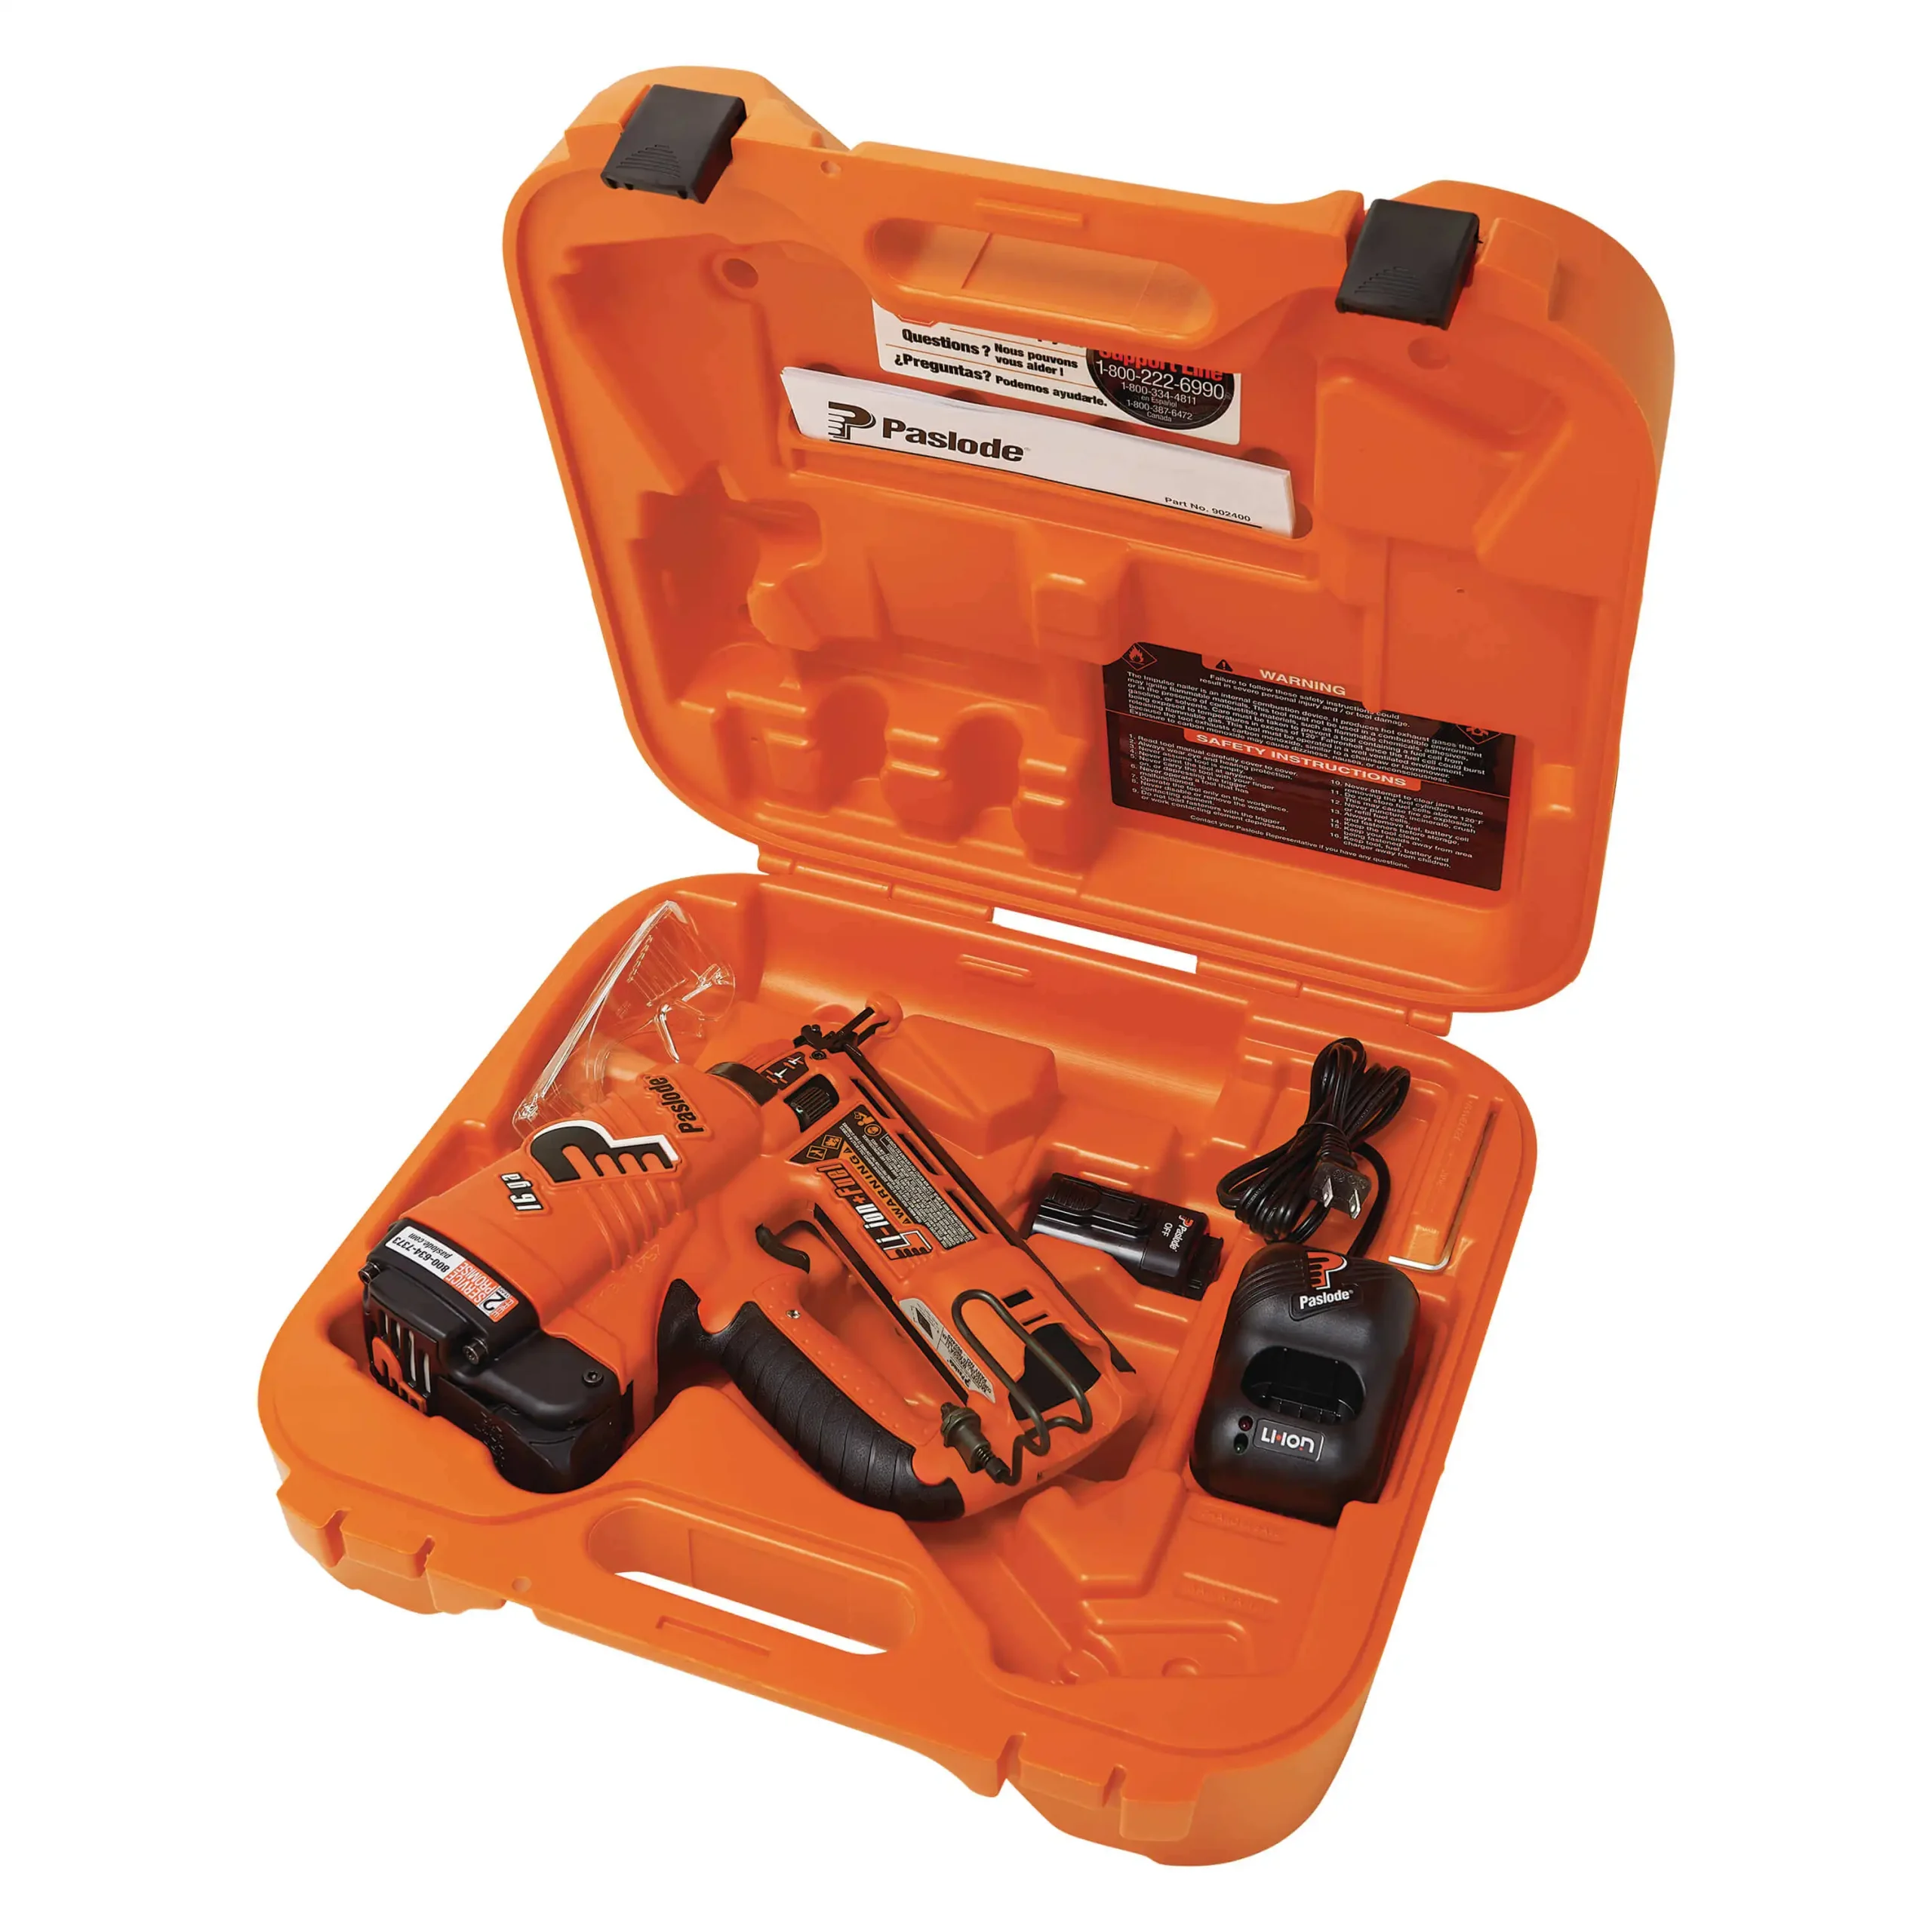
Paslode 16ga Lithium Ion Cordless Finish Nailer (Loading and Firing)
Table of Contents
How Does a Paslode Finish Nailer Work?
If you’re looking for a quick and easy way to add finishing touches to your woodworking projects, a Paslode finish nailer is the tool for you. But how does it work?
Paslode finish nailers use compressed air to drive nails into wood.
The air compressor is located in the handle of the nailer, and when you pull the trigger, compressed air is released into the chamber behind the nail. This forces the nail forward and into the wood.
You can adjust the depth of the nails by turning a knob on the side of the nailer.
This allows you to sink them just below the surface of the wood, or all the way in so they’re flush with it.
Finish nailers are great for trim work, molding, baseboards, and any other applications where you need a small headless nail. And because they use compressed air, there’s no need for an electrical outlet – making them perfect for use anywhere!
How Do You Use a Paslode Nailer?
Assuming you are talking about the Paslode IM250A:
To use the Paslode IM250A, first make sure that it is properly lubricated and that there is no air leaks. Then load your nails into the nailer and connect it to an air compressor.
Finally, adjust the depth control to ensure that your nails are being driven in at the correct depth.
How Do You Put Nails in a Finish Nailer?
Assuming you are referring to a finish nailer as in a type of tool and not the actual nails themselves, there are a few things you need in order to put nails into a finish nailer.
First, you will need to have the proper type and size of nails for your specific finish nailer model. Make sure that the head of the nail is flush with the top of the piston inside the magazine.
If it isn’t, either your nails are too long or too short. You can adjust this by adding or removing washers from behind the magazine. Second, check that your air compressor is properly turned on and set to deliver enough pressure (usually around 60-70 PSI) for your finish nailer model.
Once those two things are squared away, you should be able to load your finish nailer without any issues!
Why is My Paslode Nail Gun Not Firing?
If your Paslode nail gun is not firing, there are several possible reasons. First, check to make sure that the battery is properly charged. If the battery is fully charged and the nail gun still will not fire, you may need to replace the battery.
Another possibility is that there is a problem with the electrical connection between the trigger and the motor. This can often be fixed by simply cleaning the electrical contacts with a cotton swab dipped in rubbing alcohol.
If neither of these solutions works, it is likely that there is a problem with either the trigger mechanism or the firing pin assembly.
Both of these parts can be replaced relatively easily, but it is best to consult an authorized service center for Paslode products before attempting any repairs yourself.

Credit: www.protoolreviews.com
Paslode Finish Nailer Not Firing
If your Paslode finish nailer isn’t firing, there are a few things you can check to troubleshoot the issue. First, make sure that the safety is set to the “off” position and that there is no debris blocking the muzzle. Next, check to see if the battery is properly seated and connected.
If everything looks good with the battery, try cleaning the contacts with a cotton swab dipped in rubbing alcohol.
If none of these solutions solve the problem, it’s possible that there is an issue with the trigger assembly or other internal parts of the nailer. In this case, it’s best to take the tool to a qualified technician for repair.
How to Use a Paslode 350 Nail Gun
If you’re looking for a powerful and versatile nail gun, the Paslode 350 is a great option. This battery-operated tool can be used for a variety of projects, from framing to trim work. Here’s how to use it:
1. Load your nails into the magazine. Make sure that the nails are pointing in the right direction (toward the front of the gun) and that they’re all facing the same way.
2. Connect your battery pack to the gun.
3. Put on safety glasses or goggles before you start nailing.
4. To fire a nail, simply press the trigger and hold it down while you guide the gun against whatever surface you’re nailing into. Release the trigger when you want to stop firing nails.
5. When you’re finished using the gun, disconnect the battery pack and store it safely away from children and pets.
Paslode 16 Gauge Finish Nailer Troubleshooting
If you’re having trouble with your Paslode 16 gauge finish nailer, there are a few things you can do to troubleshoot the issue. First, check to make sure that the air compressor is properly connected and turned on. Next, check the air pressure to ensure that it’s set correctly.
If both of these things are in order, then the problem may be with the gun itself.
There are a few things you can try to fix the problem:
1. Clean out the air passages by blowing them out with compressed air or using a small wire brush.
This will help remove any debris that may be causing a blockage.
2. Check all of the O-rings and seals inside the gun to make sure they’re not damaged or worn out. These can be replaced if necessary.
3. Make sure the piston is free to move up and down inside the gun. Sometimes dirt or debris can cause it to become stuck in one position.
4. Inspect all of the internal parts of the gun for wear or damage.
Conclusion
Paslode finish nailers are a great tool for any woodworking project. Here are some tips on how to use one:
1. Before using the nailer, make sure that the air compressor is turned on and properly working.
2. Connect the air hose to the Paslode finish nailer.
3. Load the nails into the magazine of the nailer. Make sure that they are facing in the correct direction so they will be driven into the wood correctly.
4. Place your workpiece against a firm surface and position the Paslode finish nailer where you want to drive the nails.
5. Use both hands to hold onto the Paslode finish nailer, with your fingers resting on top of the trigger guard for safety purposes. Then, press down on the trigger to start driving nails into your workpiece!
