A thickness planer is a woodworking tool used to create boards with even thickness. It consists of a large, flat table with a rotating blade in the center. The boards are fed into the machine and emerge from the other side with consistent thickness.
To use a thickness planer, first ensure that the board is firmly secured to the table. Then, turn on the machine and slowly feed the board through. The blade will remove any unevenness in the surface of the board, leaving behind a smooth, even finish.
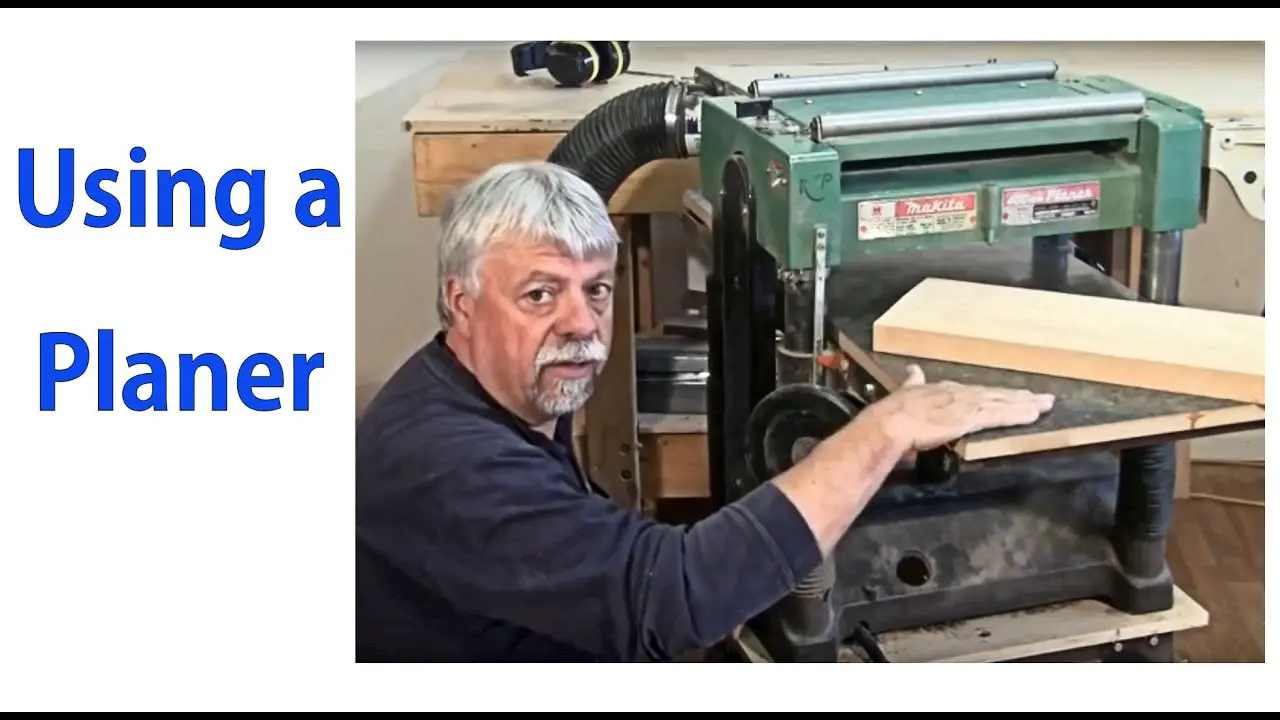
- Plug in the thickness planer and turn it on
- Place the piece of wood you want to plane on the infeed table
- Push the wood through the planer using the feed rollers
- The cutting blades in the planer will remove a thin layer of wood from your piece, making it thinner and smoother
- Repeat steps 2-4 until your piece is the desired thickness
- Turn off the thickness planer and unplug it when you’re finished using it
How to Use a Thickness Planer
Table of Contents
How Do You Flatten Wood With a Thickness Planer?
There are a few different ways that you can flatten wood with a thickness planer. The first way is to use the planer itself. Set the depth of the blade to be just shy of halfway through the thickness of the wood.
Then, make passes with the planer until the blade has removed enough material from the high spots on the board so that it is level.
Another way to flatten wood is to use a hand plane. First, find the high spots on the board and mark them with a pencil.
Then, using a hand plane set to a shallow depth, make passes over those areas until they are level with the rest of the board.
Finally, you can also use a belt sander to flatten wood. Set the sander to remove material evenly across the surface of the board.
Slowly move it back and forth over any high spots until they are level with everything else.
How Does Thickness Planer Work?
How does thickness planer work?
Thickness planers are one of the most versatile woodworking tools. They can be used to create smooth, level surfaces on rough lumber, or to remove lippage (uneven areas) from boards that have already been milled.
But how do they work?
A thickness planer consists of a rotating cutter head with sharp blades mounted on a bed. The board to be milled is fed into the planer, and the blades remove small amounts of wood as the board passes through.
The amount of material removed can be adjusted by changing the depth of cut, which is controlled by a knob or lever on the machine.
Most thickness planers will also have infeed and outfeed rollers that help to support and move the board through the machine. These rollers can be adjustable, so that you can control the rate at which material is removed from the board.
Some machines also have an automatic feed mechanism that will slowly move the board through the cutter head for you.
Once the board has been passed through the thickness planer, it will come out with a much smoother surface than it had going in. If there were any high spots or uneven areas on the original board, they should now be gone.
You can then use this newly milled lumber for whatever project you had in mind!
How Do You Use a Planer for Beginners?
Assuming you are referring to a hand held woodworking planer:
A hand held woodworking planer is a tool that can be used to create smooth, level surfaces on pieces of lumber. The tool consists of a blade that rotates and cuts into the wood as it is pushed along.
Planers are often used to prepare lumber for use in projects such as furniture-making or cabinetry.
To use a planer, start by setting the depth of cut that you want to make. This is typically done by adjusting a knob on the side of the tool.
Once the depth is set, hold the planer firmly in one hand and place the blade onto the surface of the lumber that you want to plane.Then, simply push the tool forward while keeping it level in order to make your cut. Be sure to keep your other hand close to the end of the board so that you can control its direction and avoid any unwanted tear-out.
When you’re finished making your cuts, lightly sand over the area with some fine-grit sandpaper in order to remove any remaining debris from the surface.
How Much Wood Should the Thickness Planer Remove in One Pass?
Assuming you’re talking about a standard thickness planer, the amount of wood it removes in one pass is determined by the depth of cut setting. Most have settings that range from 1/8″ to 1/2″, with 1/4″ being the most common. So, if your planer is set to remove 1/4″ per pass, it will take four passes to remove 1″.
Of course, you can always adjust the depth of cut setting to remove more or less wood per pass, depending on how much material needs to be removed and how thick you want your final piece to be.
Just keep in mind that removing too much wood at once can cause issues like tear-out or burning, so it’s always best to err on the side of taking multiple lighter passes instead of one heavy one.

Credit: handymansworld.net
How to Use a Planer
Most woodworking shops have a planer, and many woodworkers use them regularly. But for those who are new to the world of woodworking, using a planer can be a bit daunting. Here is a quick guide on how to use a planer, so that you can start incorporating this useful tool into your projects.
First, you need to know what a planer is. A planer is a power tool that removes material from one side of a board in order to make it thinner or smoother. Planers are often used to clean up rough lumber or boards that have been damaged, so that they can be reused in projects.
Now that you know what a planer is, let’s talk about how to actually use one. The first step is to set up your board on the infeed table of the planer. The infeed table is the side of the machine where the board will enter.
Once your board is in place, you’ll need to adjust the depth of cut knob on the front of the machine until it matches the thickness of your board.
After you’ve set the depth of cut, turn on the machine and slowly feed your board into it. The goal here is to take light passes with the blade, rather than trying to remove too much material at once.
As you feed your board through, keep an eye on it and make sure that it’s not getting too hot – if it starts smoking or burning, then you’re removing too much material at once and you need to back off slightly.
Once your board has made its way through the blades and out the other side (the outfeed table), turn off the machine and check your work. If everything looks good, then congratulations – you’ve just successfully used a planer!
Conclusion
A thickness planer is a great tool for any woodworker, and it can be used to create some really beautiful pieces. Here are a few tips on how to use one:
1. Start by setting the depth of your cut.
This will determine how thick your final piece will be.
2. Set the width of your cut based on the size of your project. The wider the cut, the more material you’ll remove.
3. Place your workpiece against the fence and start the motor. Slowly feed your workpiece into the blades, keeping it flat against the table.
4. As you get close to the end of your pass, slowly raise the planer’s head to avoid tear-out.