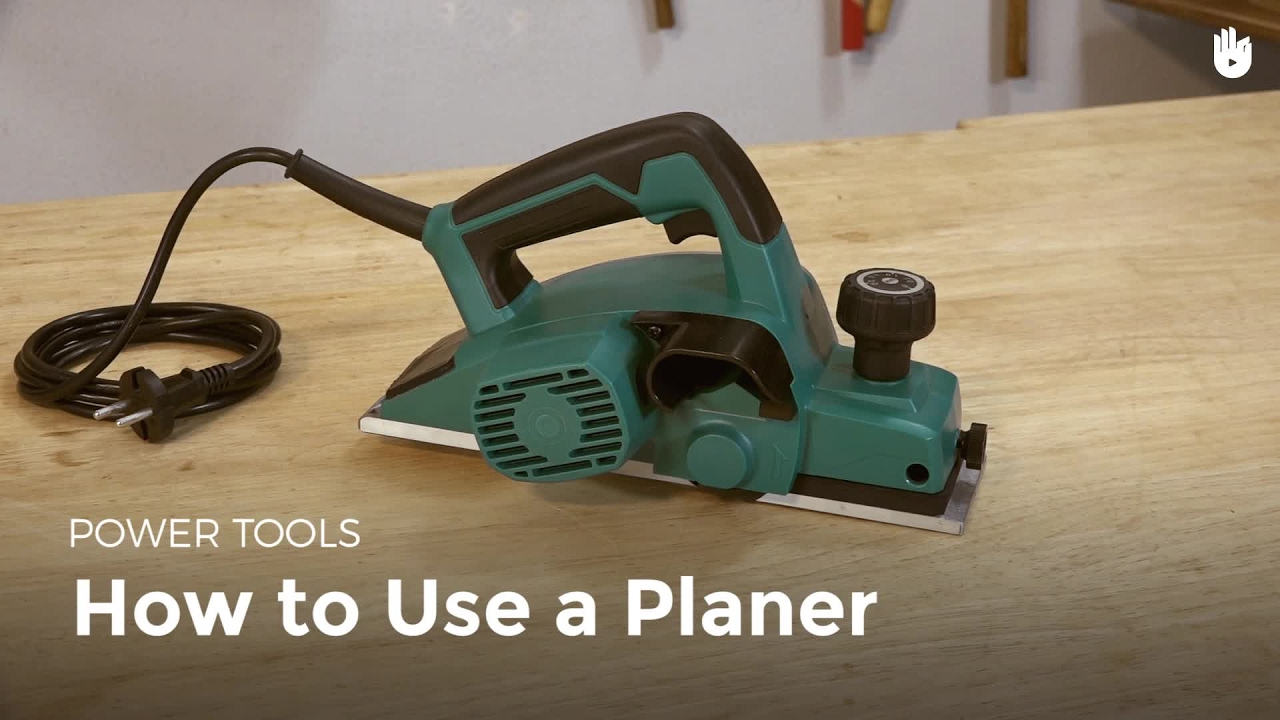
An electric planer is a power tool that is used to smooth out rough surfaces, such as wood. To use an electric planer, you will need to first select the right size and type of machine for your project. Once you have the machine, you will need to read the instructions carefully before operating it.
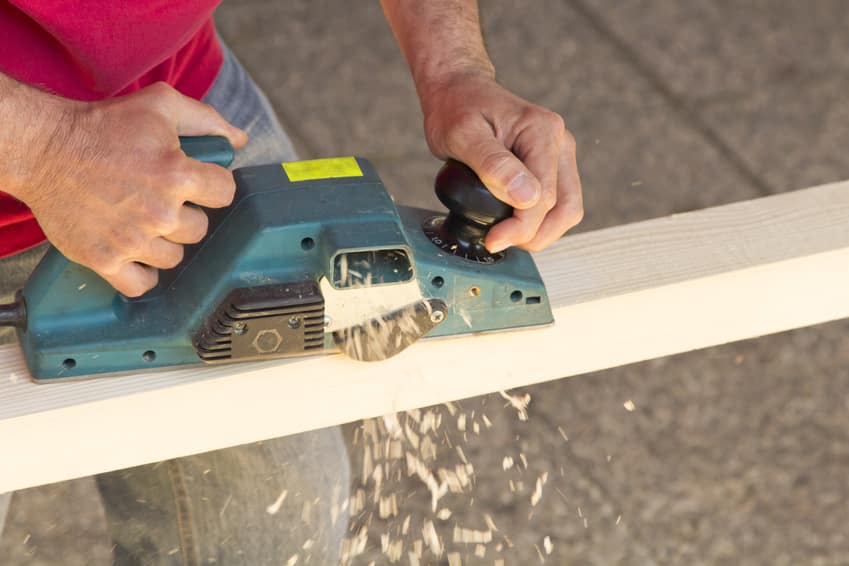
When using an electric planer, always wear safety goggles and gloves to protect yourself from flying debris.
- Read the instruction manual that came with your electric planer before using it
- Choose the correct blade for your project
- There are different blades available for different types of materials
- Install the blade onto the planer according to the instructions in the manual
- Set up your work area and make sure that there is a power outlet nearby
- Turn on the planer and hold it against the material you want to plane, following the manufacturer’s instructions for best results
BEGINNERS Guide to Using an Electric Planer.
Table of Contents
Are Electric Planers Any Good?
Are electric planers any good?
This is a difficult question to answer without first knowing what you need a planer for. If you need a planer for heavy-duty work, then an electric planer might not be the best option.
However, if you need a planer for light-duty work, then an electric planer could be a good option. Electric planers are typically more affordable than their gas-powered counterparts, so that is another factor to consider.
How Do You Plane a Door With an Electric Planer?
Assuming you would like a step-by-step guide on how to plane a door with an electric planer:
1. Begin by ensuring that the door is properly secured in a vise or clamped to a work table. You don’t want the door moving around while you’re working on it.
2. Next, check that the planer’s blades are sharp and in good condition. dull blades will make for a poor quality finish on your door.
3. With the door secured and the blades checked, you can now start running the planer along the surface of the door.
Be sure to keep even pressure on the tool as you move it back and forth. Also, be sure to overlap each pass slightly so that you ensure an even finish across the entire surface of the door.
4. Once you’ve gone over the entire door with the electric planer, take a look at your work and see if there are any rough spots or areas that need more attention.
If everything looks good, then your job is done!
Is an Electric Planer Better Than a Hand Planer?
There are a few factors to consider when deciding whether an electric planer or a hand planer is better for you. One factor is the type of wood you’re working with. If you’re working with very hardwoods, an electric planer will likely be better because it can apply more pressure than a hand planer.
Another factor is the thickness of the wood. An electric planer can handle thicker pieces of wood than a hand planer, so if you’re working with thick pieces, an electric one may be better. Finally, consider how much power you need.
If you need a lot of power for your project, an electric planer will likely be better because it can generate more power than a hand planer.
How Much Wood Can an Electric Planer Remove?
An electric planer is a tool that can be used to remove wood from a surface. The amount of wood that an electric planer can remove will depend on the size and power of the planer. A small, handheld electric planer can remove up to 1/8 inch of wood per pass.
A larger, bench-top electric planer can remove up to 1/4 inch of wood per pass.
Credit: thebestpowertoolz.com
How to Use an Electric Planer on a Table Top
An electric planer can be a great addition to your woodworking toolkit, especially if you do a lot of work with large pieces of lumber. Here are some tips on how to use an electric planer on a table top:
1. Always wear safety goggles when using an electric planer.
2. Before you start, make sure that the area you’ll be working in is well-ventilated. Planing produces a lot of sawdust, so it’s important to have good ventilation to avoid breathing in too much dust.
3. To prevent the planer from gouging into the table top, clamp a piece of scrap wood onto the table top where you’ll be starting your cut.
This will act as a sacrificial piece of wood that takes the brunt of the cutting action and protects your table top.
4. When you’re ready to start cutting, slowly lower the planer down onto the scrap wood and then engage the power switch. Gently guide the planer along as it cuts into the wood.
Keep your hands close to the edges of the machine so that you can quickly shut it off if it starts to veer off course.
5 . As you’re cutting, periodically check on your progress by running your hand along the surface of the wood to feel for any high spots or low spots.
If necessary, adjust your cutting depth accordingly until everything feels nice and even.
Conclusion
Are you planning on using an electric planer but don’t know how? Well, you’ve come to the right place! This guide will teach you everything you need to know about using an electric planer, from choosing the right one for your needs to learning how to use it properly.
By the end of this guide, you’ll be a pro at using an electric planer!
