Wooden toolbox plans are essential for building a sturdy and functional toolbox. With the right tools and materials, you can create a practical and durable wooden toolbox that will last for years to come.
A wooden toolbox can be a handy accessory for any woodworker, diy enthusiast, or homeowner who wants to keep their tools organized and within reach. The design of the toolbox will depend on the user’s specific needs and preferences. Some wooden toolbox plans include compartments for small tools and utensils, while others are more basic in design.
The materials needed to build a wooden toolbox typically include wood, screws, and glue, with optional features like a handle and hinges. The benefit of building a wooden toolbox is that it can be customized to suit the user’s individual requirements, making it a practical and functional addition to any workspace.
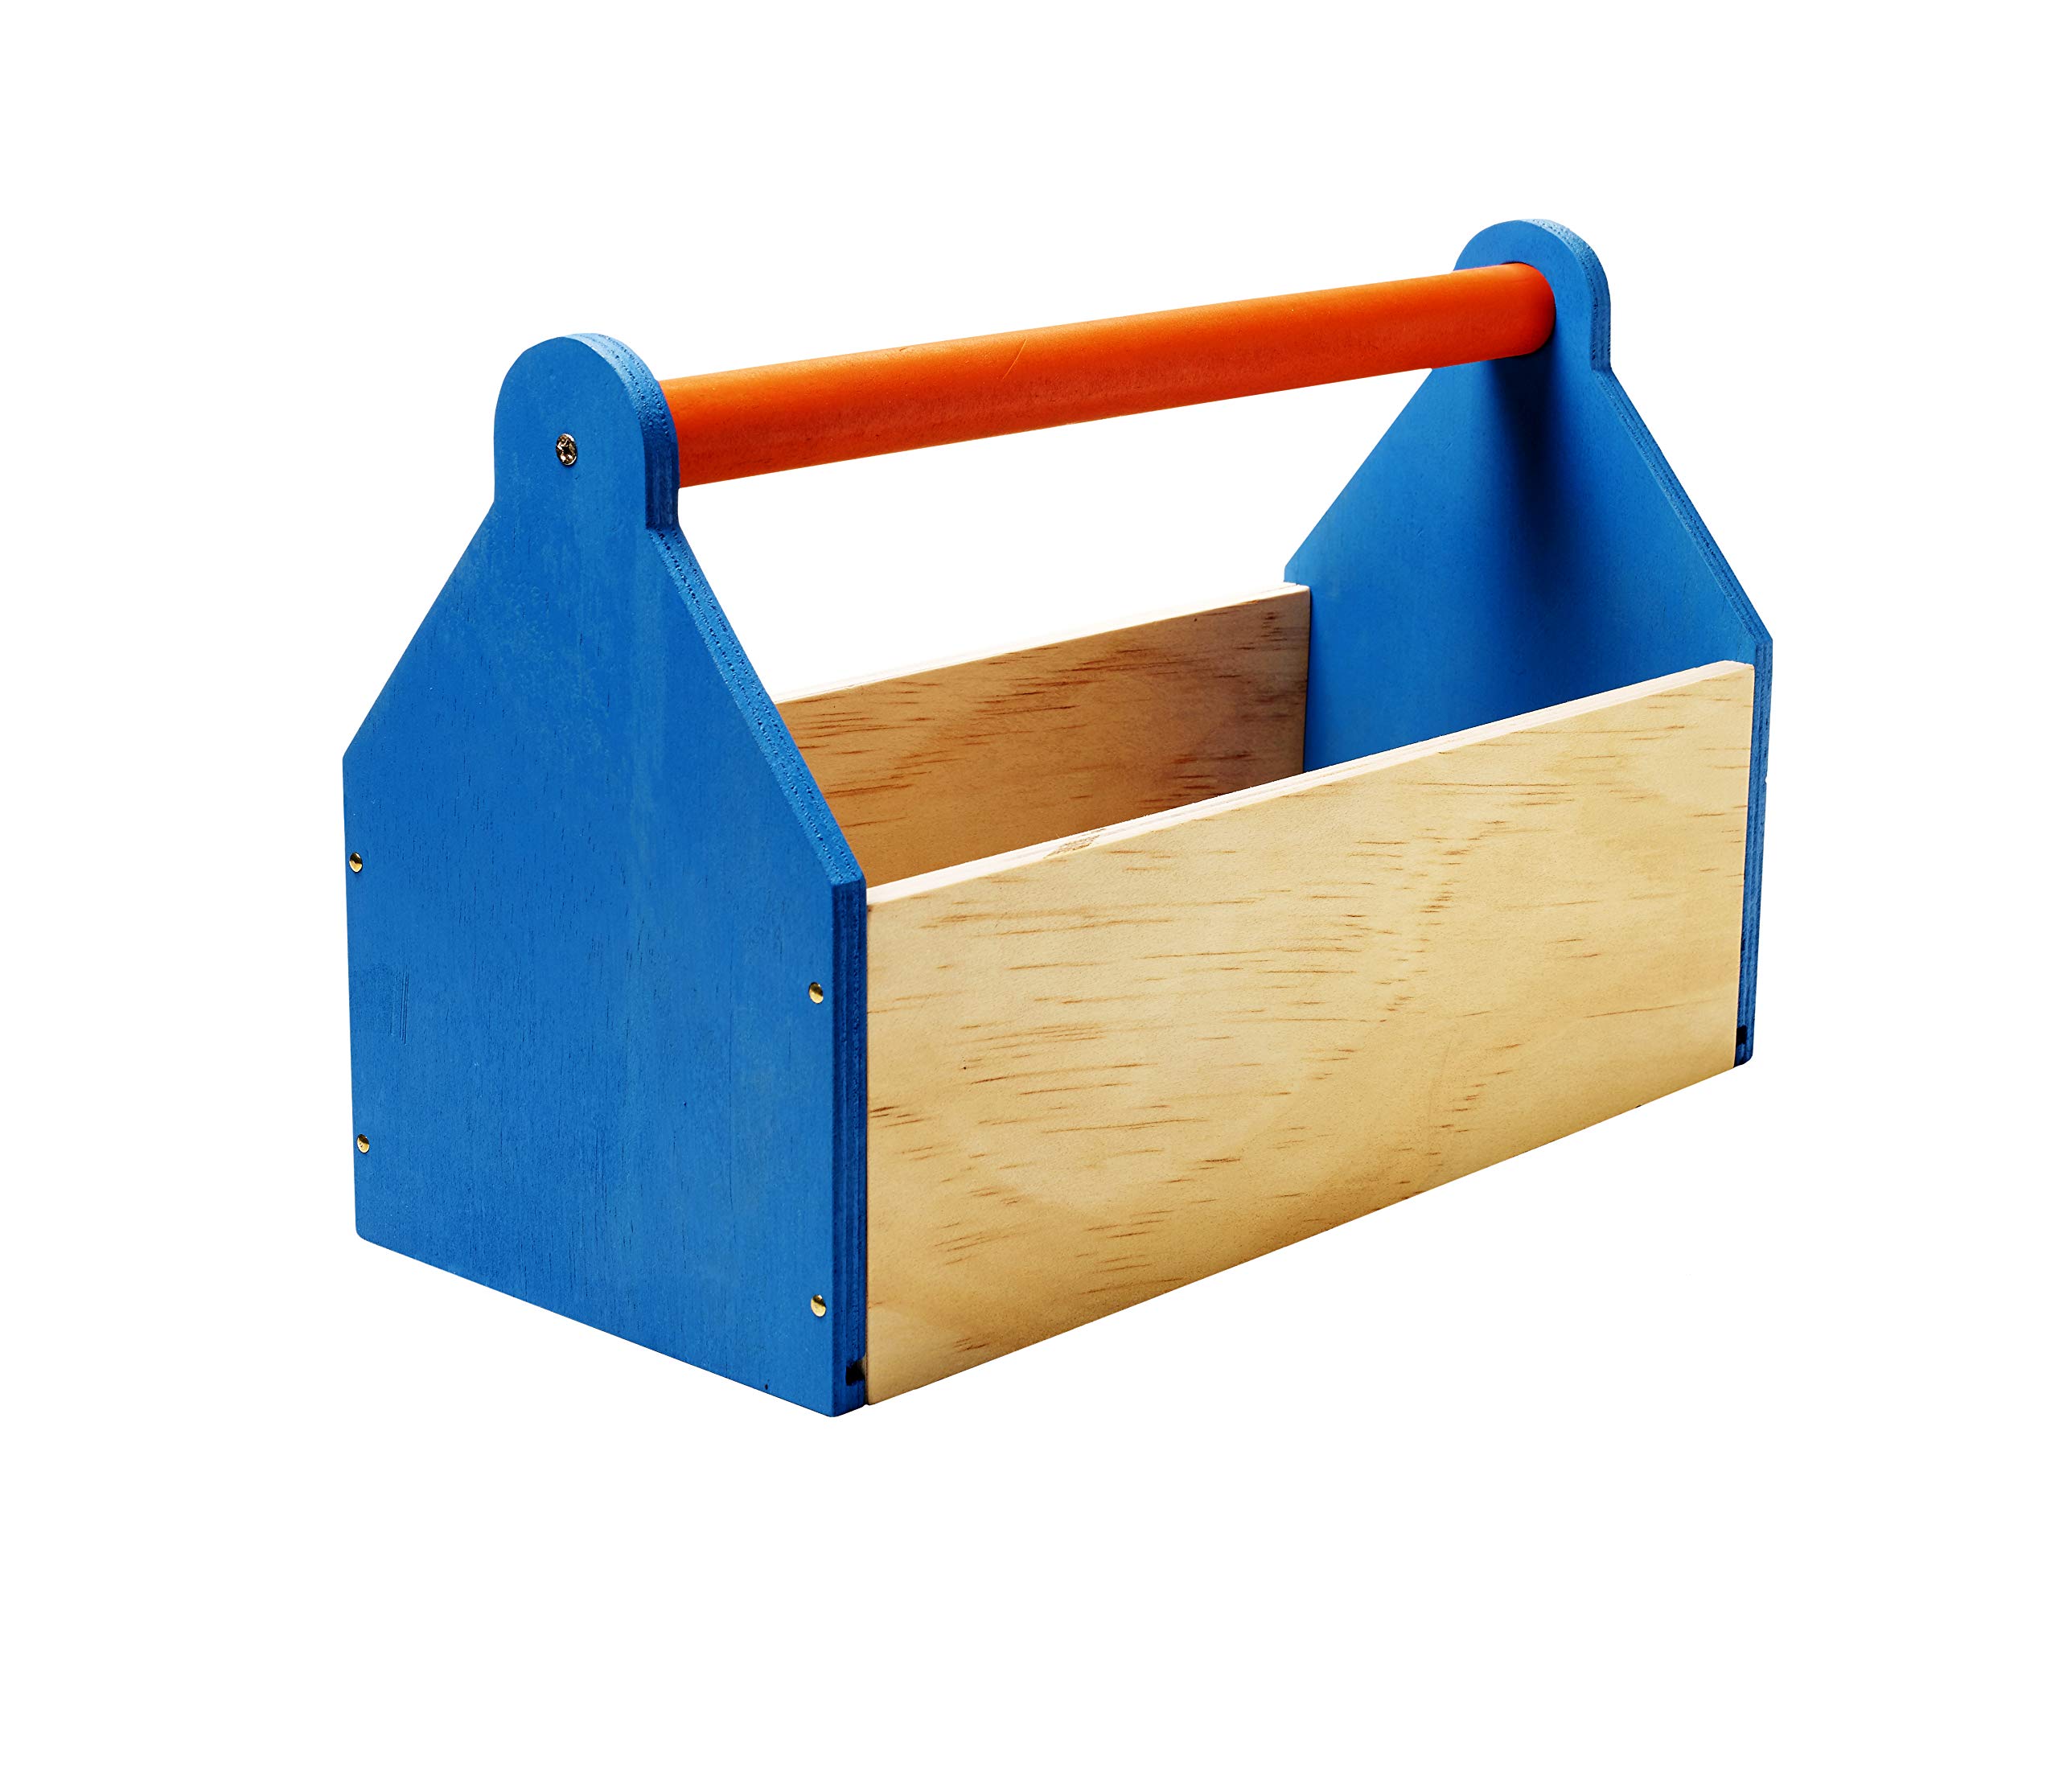
Credit: www.homedepot.com
Benefits Of Making Your Own Wooden Toolbox
Table of Contents
Do you have a collection of tools that are scattered all over your garage or workspace? Do you find it frustrating to search for the right tool when you need it? Have you considered making your own wooden toolbox? The benefits of creating your own toolbox are numerous and can help you meet your woodworking goals.
Save Money And Create A Personalized Toolbox
Buying a new toolbox can be expensive, but making your own can save you money. With the right plan, tools, and materials, you can create a customized wooden toolbox that fits your specific needs. You can choose the size, shape, and overall style, making it unique and one-of-a-kind.
Plus, you’ll have a sense of pride and accomplishment in knowing that you created your own functional and practical storage solution for your tools.
Here are some key benefits of creating your own toolbox:
- Cost-effective compared to buying a new one
- Customizable to fit your specific requirements
- Personalized with your preferred type of wood and finish
- Satisfaction in knowing you made it with your own hands
Develop Essential Woodworking Skills
Another advantage to making your own wooden toolbox is the opportunity to develop and enhance essential woodworking skills. Whether you’re a seasoned woodworker or a novice, creating your own toolbox can provide ample opportunities to hone your craft.
Here are some of the skills you can work on while creating your toolbox:
- Cutting and shaping wood pieces with hand tools or other equipment
- Drilling and joining wood pieces using various techniques
- Sanding, finishing, and painting techniques
- Measuring, marking and layout skills
Get A Sense Of Pride And Satisfaction In Creating Something With Your Own Hands
Finally, perhaps the most compelling benefit of creating your own wooden toolbox is the sense of pride and satisfaction in producing something with your own hands. By making your own toolbox, you’ll have a closer connection to your tools and workspace.
You can take pride in your craftsmanship and have a true sense of ownership over the final product.
If you’re looking to save money, develop essential woodworking skills, and gain a sense of pride and accomplishment, creating your own wooden toolbox is an excellent first project. You have the opportunity to personalize your toolbox to fit your specific needs and desires while enhancing your craftsmanship skills.
Essential Tools And Materials Needed
Wood Selection And Measurements
Choosing the right kind of wood can make a significant difference when building a wooden toolbox. Here are some key points to keep in mind while selecting wood:
- Choose hardwood instead of softwood. Hardwood ensures that the toolbox will be sturdy and reliable.
- Go with a wood that is easy to work with. Consider the wood’s texture, grain pattern, and ease of cutting.
- For measurements, use a tape measure to ensure you get precise measurements.
Cutting Tools (Saw, Drill)
Cutting tools are an essential part of making a wooden toolbox. Here are some key points to keep in mind when it comes to saws and drills:
- Use a hand saw or a power saw to cut the wood according to your measurements.
- A drill is necessary to drill holes for the screws or nails.
- A drill also requires drill bits of different sizes to make the right size holes.
Joining Tools (Hammer, Nails, Screws)
Good joinery is essential when making a sturdy wooden toolbox. Here are some key points to keep in mind when it comes to joining tools:
- Use nails or screws to join the pieces of wood together.
- Choose nails or screws that are long enough to go through both the thickness of the wood.
- Use a hammer to drive in the nails or screws.
Sanding And Finishing Tools (Sander, Paint/Stain)
Once the wooden toolbox is assembled, it is time to make it look polished and finished. Here are some key points to keep in mind when sanding and finishing:
- Use a sander to sand all the surfaces of the toolbox.
- Start by using a rough grit sandpaper and then move to finer grit sandpaper.
- Apply paint or stain to the wooden toolbox once it is sanded.
By using these essential tools and materials, you can make a beautiful and sturdy wooden toolbox that will last a long time.
Design And Planning Your Wooden Toolbox
A wooden toolbox is a great project to undertake if you’re looking to up your diy game and gain some practical experience in woodworking. Before you start, you’ll want to put some thought into the design and planning process. Here are some key points to consider:
Choosing The Right Design For Your Needs
When deciding on a design for your wooden toolbox, consider what you’ll be using it for. Do you want something small and portable, or a larger toolbox that can store all your tools in one place? Here are some factors to keep in mind:
- Consider the size of your tools and how many you have.
- Think about whether you’ll be carrying the toolbox around frequently or if it will be stored in one place.
- Consider any additional features you might want, such as drawers or compartments for smaller items.
Creating A Blueprint And Step-By-Step Process
Once you’ve settled on a design for your wooden toolbox, the next step is to create a blueprint and step-by-step process. This will ensure that you have a clear plan for building your toolbox and will make the process go much more smoothly.
Here are some steps you can take:
- Draw out a detailed blueprint, including measurements and any special features.
- Create a step-by-step process that outlines the order in which you’ll need to complete each step.
- Consider any potential challenges you might encounter and how you can overcome them.
Safety Precautions To Consider
When working with wood and power tools, safety should always be a top priority. Here are some important safety precautions to keep in mind when building your wooden toolbox:
- Wear protective gear such as safety glasses and gloves.
- Use tools properly and follow all safety guidelines.
- Work in a well-ventilated area and take breaks as needed to avoid fatigue.
By choosing the right design, creating a blueprint and step-by-step process, and taking proper safety precautions, you’ll be well on your way to building your own wooden toolbox. Just remember to enjoy the process and take your time to ensure a high-quality, functional toolbox that will serve you for years to come.
Building And Assembling Your Wooden Toolbox
Beginning The Construction Process
Before starting to build your wooden toolbox, make sure you have all the necessary tools and materials. Here is a list:
- Wood glue
- Sandpaper (120 and 220 grit)
- Clamps
- Drill bits
- Screws
- Saw
- Measuring tape
- Ruler
- Pencil
Once you have everything on the list, it’s time to begin the construction process. Follow these steps:
- Create a blueprint or plan for your wooden toolbox. This is where you decide on the size and shape of the toolbox.
- Using your saw, cut the pieces of wood according to your blueprint.
- Sand the edges of your cut wood pieces with 120 grit sandpaper to remove rough edges, followed by a finer 220 grit sandpaper to create a smooth finish.
- Assemble the pieces according to your blueprint using wood glue, clamps, and screws.
Joining And Attaching Wooden Parts Together
After completing the initial construction process of your wooden toolbox, it’s time to join and attach the wooden parts together. To do so, follow these steps:
- Apply wood glue to the edges of your wooden parts that need to be joined together.
- Use clamps to hold the pieces in place as the glue dries.
- After the glue has dried, use screws to attach the pieces together for added stability.
Sanding And Finishing The Toolbox For A Professional Look
To make your wooden toolbox look professional and finished, follow these steps:
- Start by using 120 grit sandpaper to smooth out any rough surfaces.
- Once the surface is smooth, switch to a finer 220 grit sandpaper to create an even smoother finish.
- Apply wood finish or paint to the surface of your toolbox to protect and enhance the wood.
- Finally, allow the finish to dry completely according to the manufacturer’s instructions.
By following these simple steps, you’ll be able to build and assemble your wooden toolbox successfully. Whether you’re a diy enthusiast or a professional woodworker, having a wooden toolbox is a must. Not only is it functional, but it’s also a stylish addition to any workspace.
Decorating And Personalizing Your Wooden Toolbox
Your wooden toolbox is not only a handy storage solution but also a way to showcase your personality. Decorating it in a unique way can make it stand out and represent your style. Here are some tips on how to add a personal touch to your wooden toolbox.
Adding A Personal Touch With Custom Designs
Custom designing is an excellent way to add a unique touch to your wooden toolbox. Some key points to remember while designing your toolbox are:
- You can add your name, initials, or any other symbol that represents you.
- You can put stickers of your favorite bands, movies, or sports team.
- You can use a wood-burning tool to carve unique designs into the wood.
Choosing Paints, Stains, Or Other Finishes
Choosing the right finish can make all the difference when personalizing your wooden toolbox. Some key points to remember while choosing paints, stains, or other finishes are:
- Use non-toxic and eco-friendly paints or stains if possible.
- Choose colors that match the rest of your tools or your overall color scheme.
- Use a clear coat of finish on top to protect the paint or stain from scratches.
Adding Useful Accessories Such As A Handle Or Locking Mechanism
Accessories can give your wooden toolbox additional functionality while also adding to its personality. Some key points to remember while adding accessories are:
- Choose a handle that is comfortable to hold and easy to install.
- Consider adding a locking mechanism to keep your tools safe.
- You can add stickers or magnets to the inside of the lid to hold small tools and parts.
Decorating and personalizing your wooden toolbox can showcase your personality and add functionality to your toolbox. Custom designs, choosing the right finish, and adding useful accessories are all ways to make your wooden toolbox stand out.
Frequently Asked Questions Of Plans For Wooden Toolbox
Can A Beginner Woodworker Make This Toolbox?
Absolutely! Our plans are designed with beginners in mind. Each step is clearly explained, and we include detailed diagrams to help guide you through the process.
What Type Of Wood Is Best For Making This Toolbox?
Any type of hardwood can be used to make this toolbox. We recommend using a wood that is both strong and durable, such as oak, maple, or cherry.
What Tools Will I Need To Build This Wooden Toolbox?
You will need a few basic woodworking tools, such as a saw, drill, and hammer. We also recommend a few specialty tools, such as a circular saw and router, to make the process easier.
Can I Customize The Size Of The Toolbox To Fit Specific Tools?
Yes! Our plans are easily adaptable, and you can adjust the size of the toolbox to fit your specific needs. Just be sure to adjust the measurements of the materials accordingly.
Can I Stain Or Paint The Wooden Toolbox After It Is Built?
Absolutely! Once the toolbox is assembled, you can paint or stain it to suit your personal style. Just be sure to let the finish dry before putting any tools inside.
Conclusion
Now that you have gone through various plans for wooden toolbox, you are equipped with the knowledge to create your own masterpiece. Remember, the key to a successful project lies in careful planning and execution. Make sure to select the right materials, tools, and techniques while keeping in mind your skill level.
You can experiment with different designs and add your personal touch to the project. While simple designs can be completed in a few hours, complex ones may take several days. Always prioritize safety and adhere to the given instructions. A wooden toolbox can be a practical addition to your home and a beautiful gift for your loved ones.
Start planning your project today and let your creativity run wild. Happy building!
