Because of its longevity and protection, polyurethane is a preferred finish for tongue-and-groove pine ceilings. Our clear coating protects the wood from moisture and abrasion while enhancing its attractiveness.
Tannin oil is great for a natural or rustic effect. wood deepens into pine, increasing its color and grain and protecting wood from scratches and stains. This treatment draws out the wood’s warmth, making any area welcoming.
Use water-based finishes for environmental sustainability. It cleans up with soap and water, dries rapidly, and has low VOCs, making it safer for you and the environment. The best tongue and groove pine ceiling finish depends on aesthetic, maintenance, and environmental factors.
Looking for the best finish for your pine ceiling? Learn about different wood finishes to make it look awesome. Find classic and modern options that show off the beauty of your ceiling. Choose from old-fashioned stains to new, clear coats that suit your style. Mix old ways with new ideas to make your room look amazing!
Checkout From Amazon
Finishing Options for Pine Tongue and Groove Ceiling
Table of Contents
Natural Oil Finish
A natural oil finish makes pine ceilings look super pretty. It shows off the wood’s warm colors and cool patterns, making it look old-fashioned and awesome. It’s also easy to put on and take care of.
Polyurethane Finish
If you use a polyurethane finish on your pine ceiling, it will be strong and safe. This finish makes a tough coat that stops scratches, stains, and water damage. You can pick between shiny or dull looks with polyurethane finishes.
Water-Based Finishes
Water finishes are good for pine ceilings. They don’t have bad stuff in them, like regular finishes. They dry fast, don’t smell as much, and come in different colors.
Pre-finishing Considerations for Tongue and Groove Ceiling Installation
Benefits of Pre-finishing
Before finishing, sanding the boards saves time and effort and makes sure the final result looks great. Also, it’s important to use a sealer to stop moisture from harming the wood.
Importance of Sealing Before Finishing
Sealing helps wood last longer by keeping moisture out and stopping it from getting warped.
DIY Techniques for Pine Tongue and Groove Ceiling Finish
Brushing Technique
Apply the finish smoothly with a brush to make your pine ceiling seem professional. Long strokes prevent streaks and uniformly cover everything. For proper drying, apply thin coats. It’ll appear professional.
Foam Brush Use
Pine tongue-and-groin ceilings benefit from foam brushes. It smooths the surface without streaks. The soft foam finishes the ceiling evenly.
Clear Coat Application for Pine Tongue and Groove Ceiling
Preserving Natural Beauty
Pine wood’s natural hue and cool grain pattern look great with clear coatings. Choose shiny or matte finishes to enhance your pine ceiling. Water-based clear coatings dry quickly if you’re in a hurry. This allows you to build layers quickly without losing style. Ideal for quick project completion!
Deepening Wood’s Appeal
Oil-based clear coats make your pine ceiling look fancy and shiny. They make the wood look even prettier and last longer.
Checkout From Amazon
Staining Methods for Pine Tongue and Groove Ceiling
Gel Stains
Gel stains are great for pine ceilings. They’re easy to use, and they make the wood look nice. You can get a pretty finish that brings out the pine’s natural beauty.
Pre-conditioning with Wood Conditioner
Use a wood conditioner before staining pine wood to ensure a good finish. It helps the wood absorb the stain uniformly, making it smooth and flawless. It also prevents blemishes.
White Wash Technique for Pine Wood Ceiling
Creating a Rustic Look
To make your pine ceiling look old-fashioned, whitewash it. Mixing paint with water keeps the wood’s grain while whitening it. This technique makes the ceiling look antique and complements the decorations.
Layering for Coverage
Apply many small applications of white wash to your pine wood ceiling to make it extremely white. Add layers till desired whiteness. This lets you choose how much wood pattern to see while maintaining color.
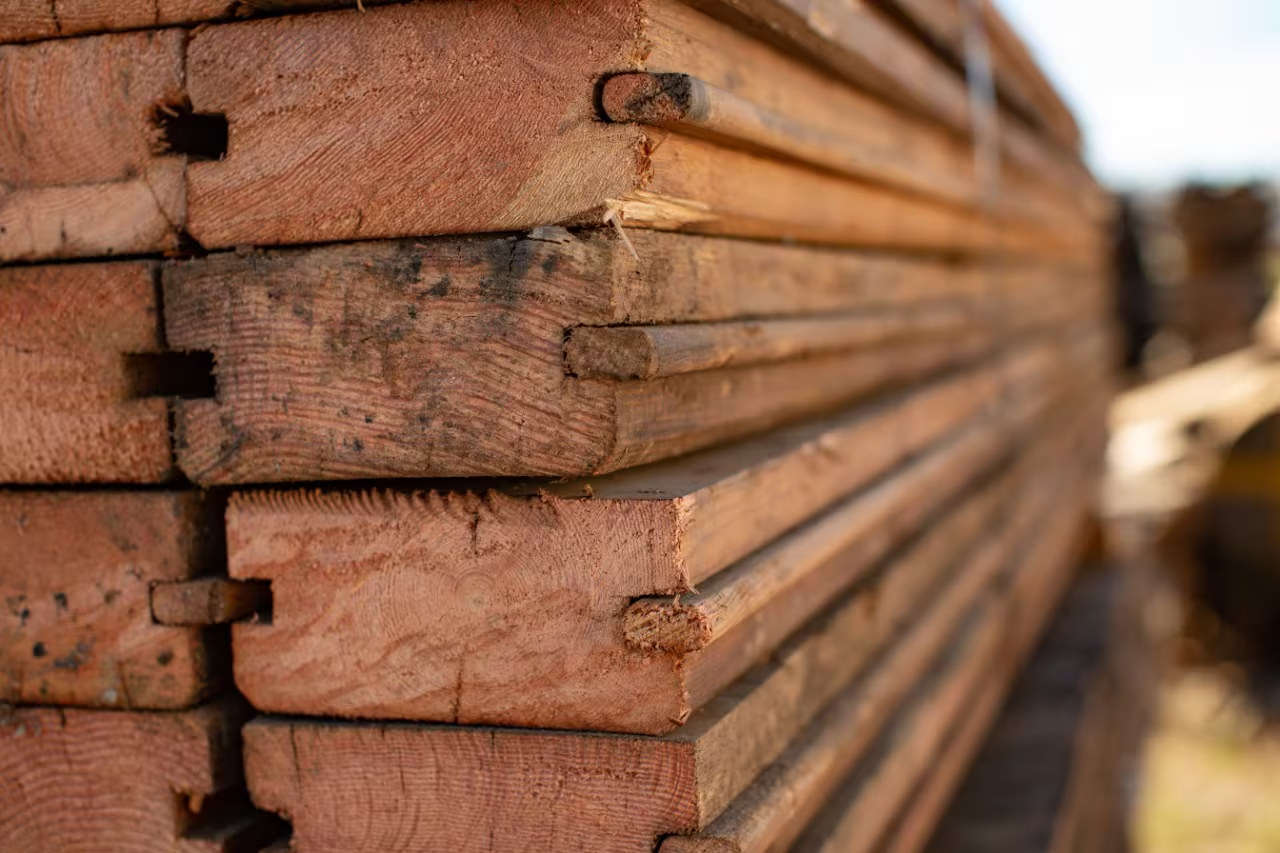
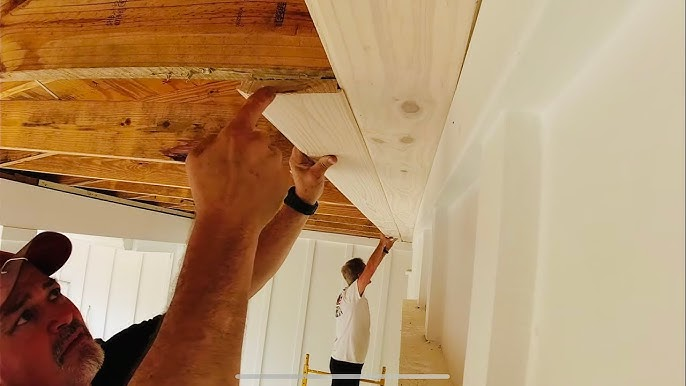
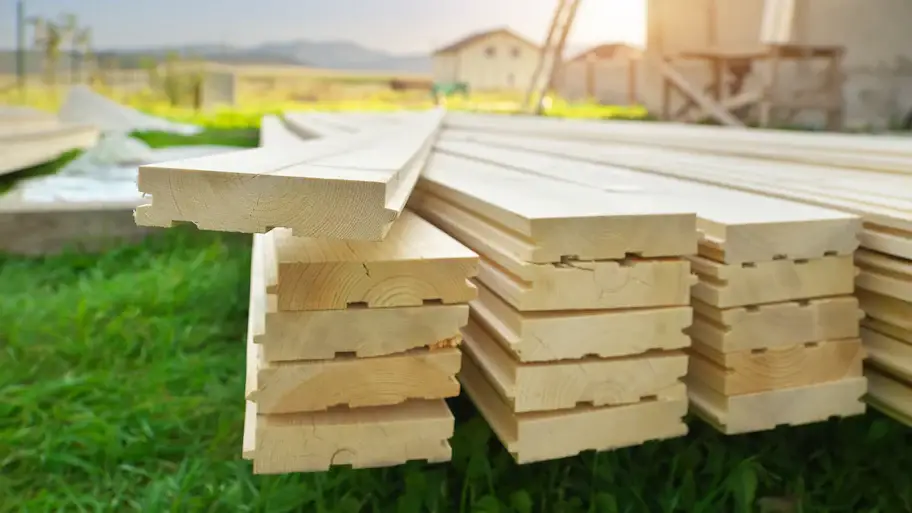
Achieving a Tight Fit in a Tongue and Groove Ceiling
Ensuring a Tight Fit
To make a tongue-and-groove pine ceiling look nice, you need a rubber mallet to push the boards together. Put glue on the edges for extra strength. Use nails or staples at an angle to keep the boards secure and prevent them from moving.
Securing Boards Together
To make sure tongue and groove boards stick well, nail or staple them at an angle. This keeps the boards in place, making your pine ceiling look smooth. It also stops gaps from showing up later.
Tips for Hanging a Porch Tongue and Groove Ceiling
Acclimating Boards
Before installing, let the planks adjust to the porch. It helps prevent future bending. Giving the boards time to adjust is like letting your body adjust to cold weather before going outside.
Furring Strip Installation
Furring strips on the ceiling support tongue-and-groove boards. These strips secure the boards without sagging or moving.
Furring strips are like a house’s foundation—strong, sturdy, and keeping everything in place.
Checkout From Amazon
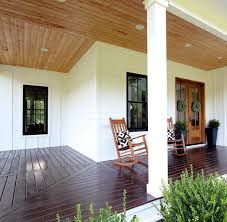
Outdoor Pine Tongue and Groove Ceiling Finish
Exterior-grade Paint
Special paint protects outdoor pine ceilings from harsh weather. This paint protects wood against water, sun, and other elements. This paint is essential for a durable, attractive ceiling.
UV-Proof Clear Coat
Use a UV-resistant clear finish to prevent sun-fading on your outdoor pine ceiling. This clear coat protects the pine. Remember to reapply it often to maintain your porch ceiling.
Final Remarks
Your pine ceiling can be stunning in many ways. Shine it with clear coatings, stains, or white washes. Preparation and detail matter. Follow the suggestions for a professional look. Get your brushes and sleeves ready to beautify your ceiling. Be creative, and make your ceiling stand out!
Frequently Asked Questions
How can I achieve a professional finish for my pine tongue and groove ceiling?
Before hanging the boards, paint them for a pleasant look. This ensures everything appears good and no spots are missed. To improve and protect the wood, apply appropriate clear coatings or stains.
What is the best staining method for a pine tongue-and-groove ceiling?
To make your pine ceiling look nice, use a wiping stain with a cloth or brush. You can choose how dark you want it based on how long you leave the stain on before wiping it off. This way, you can make it look just how you like it.
Can I use the whitewash technique on my pine wood ceiling for a rustic feel?
Yes, white washing can make your pine wood ceiling look vintage and charming. Simply mix paint with water and apply it to wood. It sinks into the grain, whitewashing it. It makes your room cool!
How do I ensure a tight fit when installing tongue and groove ceiling boards?
Cut the planks carefully to fit together for a good floor. To prevent gaps when wood shifts with humidity, place spacers between planks.
What are some tips for hanging an outdoor pine tongue-and-groove ceiling?
Choose weatherproof materials for outdoor work. Choose treatments that protect your pine ceiling from rain and sun.